Flaky Roti Canai Recipe (Authentic Malaysian Flatbread)
Introduction
This authentic roti canai recipe provides a straightforward method for creating the signature flaky, layered texture of this popular flatbread at home. By following these steps, you can master the essential techniques needed to produce a soft, chewy interior with a crisp, golden exterior.
Roti canai is widely considered a staple of Malaysian and Singaporean cuisine, often enjoyed at local Mamak stalls. The term canai typically refers to the traditional method of flattening or throwing the dough to achieve its characteristic thinness. In this guide, you will learn the best practices for handling the dough, the proper stretching techniques to ensure thin, translucent layers, and how to cook the bread to perfection. We also cover essential tips for serving your flatbread with traditional sides like dhal curry to complete the experience.
Authentic Roti Canai Ingredients
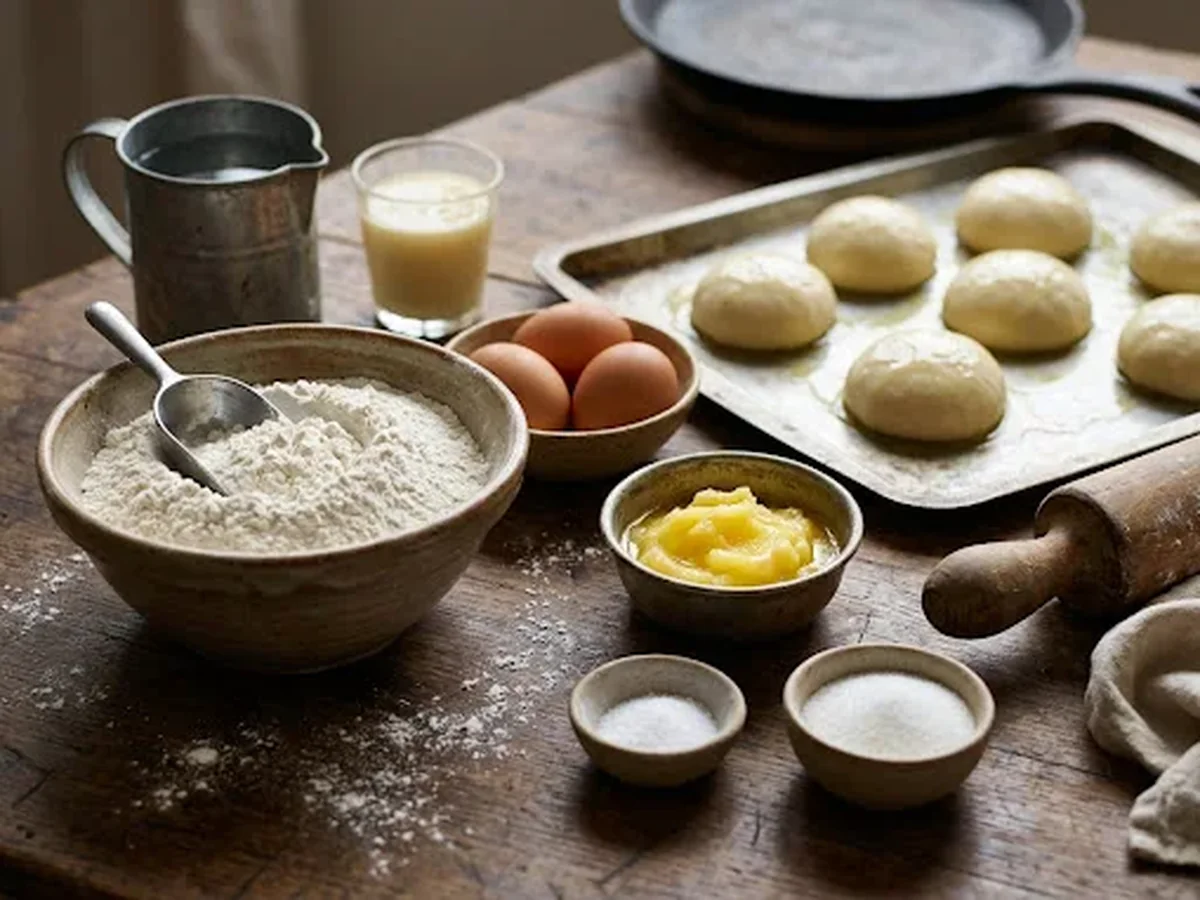
The foundation of this flatbread relies on a simple combination of pantry staples, typically involving wheat flour, water, salt, and a fat source. While modern variations exist, an authentic Malaysian roti canai recipe is defined by these core components, which allow the dough to achieve its signature elasticity and crisp layers when cooked.
Selecting the right base is essential for successful results. Cooks often reach for all-purpose flour to provide the necessary structure, though the exact protein content can influence how easily the dough stretches. To ensure the final texture remains tender rather than tough, the dough must be properly kneaded and rested, allowing the gluten to relax before the shaping process begins.
You will need the following basic items to prepare the dough:
- All-purpose flour for the dough base.
- Water to hydrate the flour.
- Salt to balance the flavor.
- A fat source, such as oil or ghee, to coat the dough and encourage layering.
Fat plays a functional role beyond mere flavor in this process. Whether you choose oil or ghee, it acts as a lubricant during the lamination phase. When the dough is stretched until it is transparent and thin, the fat prevents the layers from sticking together completely, which creates that recognizable flaky finish. If you prefer a traditional taste, ghee is a common choice, but oil is a perfectly acceptable substitute that works just as well for home preparation.
Once the dough is ready, the technique of flattening or throwing it, known as canai, transforms these simple ingredients into a thin, delicate sheet. This method is the secret to creating the many fine layers that make this bread a beloved comfort staple throughout Malaysia and Singapore. Traditionally, these warm, crispy rounds are paired with a side of dhal curry or other savory dipping sauces to complete the meal.
Ingredients and Flour Selection
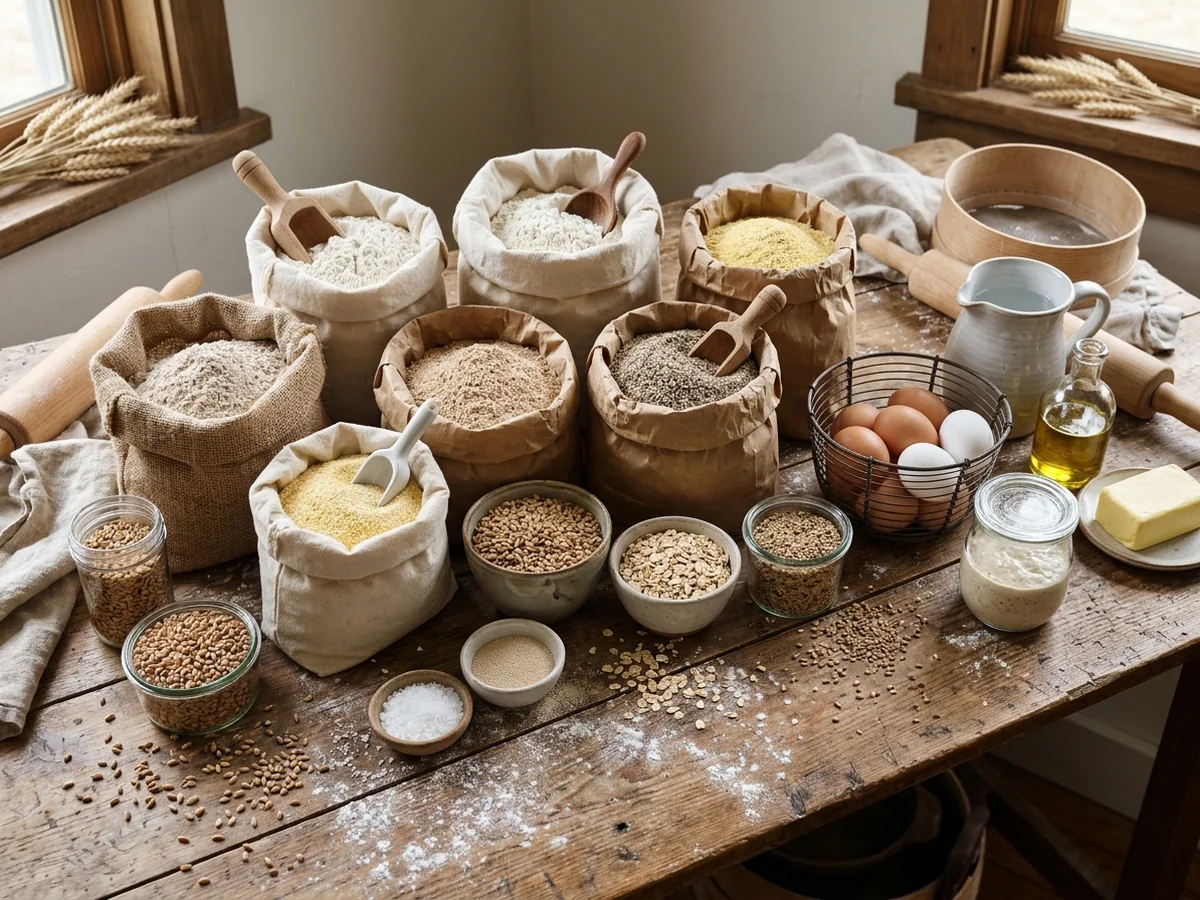
The ideal roti canai flour type is one that balances elasticity with tenderness to allow the dough to be stretched paper-thin without snapping. While professional bakers sometimes use a blend of high-protein flours, all-purpose flour is the standard choice for a home roti canai recipe because it offers a manageable protein level that produces a soft, pliable dough.
Higher protein flours create more gluten, which makes the dough stronger but potentially too chewy or resistant to stretching. By using all-purpose flour, you gain enough structure to roll and pull the dough into thin layers while keeping the final result delicate. Fat, such as ghee or oil, is essential for lubricating the gluten strands, which prevents the dough from shrinking back and contributes to the signature flaky texture of the finished bread.
- Select a high-quality all-purpose flour to ensure the dough remains soft and easy to work with during the stretching process.
- Incorporate fat like ghee or vegetable oil directly into the dough to add richness and improve the overall elasticity.
- Coat the dough balls thoroughly in oil during the resting period to prevent a skin from forming and to keep the surface supple.
- Use a generous amount of fat when laminating the dough to separate the layers and create the characteristic flaky, crisp exterior.
- Consider the ambient temperature, as using slightly warm fat can make the dough even more pliable and easier to manipulate by hand.
Preparing the Dough

Start by mixing all‑purpose flour with water until the batter feels soft but not sticky; a typical hydration level is a little more water than flour by weight. Add a pinch of salt and a splash of oil, then knead briefly until the mixture forms a cohesive ball.
Cover the dough and let it rest at room temperature for at least half an hour. This pause relaxes the gluten strands, making the later stretch much easier and reducing the risk of tearing.
After the initial rest, divide the dough into equal portions, usually eight to ten pieces for a standard batch. Using a kitchen scale helps keep each piece the same size, which leads to uniform cooking and consistent flakiness.
Roll each portion into a smooth ball, then let them sit uncovered for another ten minutes. The short second rest further softens the surface, allowing you to pull the dough into a thin, almost translucent sheet without it snapping back.
- Weigh each portion (around 80 g each for eight pieces) to maintain even thickness.
- Keep the rolled balls loosely covered with a damp cloth to prevent drying.
When the dough is ready to stretch, gently lift it and use the hands to flip and toss, gradually increasing its diameter. The relaxed gluten and proper hydration let the sheet become paper‑thin, which is essential for the signature flaky layers once the dough hits the pan.
Mastering the Stretching Technique

The dough is pulled until it becomes nearly transparent and paper‑thin, creating the delicate layers that define the flatbread. Achieving this translucency requires a relaxed gluten network, gentle oiling of the work surface, and a confident hand that lets gravity do most of the work.
The “flying” dough method, popular in Mamak stalls, involves tossing the ball overhead and letting it spin into a thin sheet before it lands on the table. This adds a bit of aeration and can be impressive to watch, but it demands practice to avoid tears. The static table‑stretch method keeps the dough on a lightly oiled countertop, where you use the backs of your hands to coax it outward; it’s slower but gives more control, especially for beginners.
If the sheet splits, it usually means the dough is either under‑hydrated or the gluten hasn’t relaxed enough. Letting the dough rest for an extra 10‑15 minutes after each fold can ease tension, and a brief drizzle of oil on the surface helps prevent sticking that leads to tears.
Key steps to keep the sheet intact:
- After the final fold, cover the dough with a damp cloth and rest for at least 15 minutes before stretching.
- Lightly oil the countertop and your palms; excess oil can make the dough slippery, so use just enough to prevent sticking.
- Begin the stretch by pulling the dough from the center outward, rotating it slowly to maintain even thickness.
- If a tear appears, gently fold the torn edges back onto themselves and let the dough rest a few minutes before resuming the stretch.
- Maintain a warm room temperature; cold dough resists stretching and is more prone to ripping.
Lamination and Folding

The flaky texture comes from repeatedly folding a thin sheet of dough around a layer of fat, creating many microscopic layers that puff when the flatbread hits a hot pan.
When the dough is stretched to near‑transparent thinness, gluten strands are aligned in a single direction. Introducing a thin film of oil (or butter) between each fold prevents the strands from bonding completely, so the layers stay separate during cooking. As the heat vaporises moisture, the trapped fat melts and the layers separate, giving the characteristic crisp‑on‑the‑outside, soft‑inside bite.
Each fold essentially doubles the number of layers: a single fold creates two, a second fold makes four, and a third fold results in eight. This exponential increase means even a modest number of folds yields enough lamination for a visibly flaky surface without needing a pastry‑like dough.
To prepare the dough for the final roll, start with a rested ball, flatten it, then coat the surface lightly with oil. Fold the dough in thirds like a letter, turn it ninety degrees, and repeat the oil‑coat and fold. After three to four rounds, the dough will feel pliable yet structured, ready for the coiling step.
- Stretch the folded sheet into a long, thin rope, aiming for a diameter of about 1 cm.
- Gather the rope into a loose coil, tucking the end underneath to keep the layers intact.
- Let the coil rest briefly (5, 10 minutes) so the gluten relaxes, then gently flatten it again before cooking.
Coiling the stretched rope aligns the many lamination layers in a circular pattern, which helps the flatbread expand evenly when it hits the pan. The brief rest also reduces shrinkage, allowing the final roll to stay thin while retaining the internal layers that will separate into flake‑like pockets during frying.
Common Cooking Mistakes

Even a solid roti canai recipe can go sideways if the dough isn’t given enough rest, the pan temperature isn’t managed, or too much oil is mixed in.
- Skipping the resting period leaves the gluten tight, so the dough snaps back when you try to stretch it, making the folds hard to handle.
- If the dough rests too briefly, the layers won’t separate properly during cooking, which reduces the flaky lift.
- Cooking on a pan that’s too hot chars the outside before the interior layers have a chance to puff, resulting in a hard crust rather than a tender, airy bite.
- Conversely, a pan that’s not hot enough yields a pale, soggy surface that never develops the signature crispness.
- Adding excess oil to the dough coats the gluten strands, preventing them from sliding over each other during lamination and producing a dense, greasy flatbread.
- Over‑oiling also makes the dough stick to the work surface, so the thin, transparent stretch typical of roti canai becomes impossible.
- Using too little oil after shaping can cause the layers to fuse together, eliminating the distinct flaky pockets that define a good roti canai.
Serving and Storage Tips

Roti canai’s flaky layers are at their best when the bread is hot and the topping is warm. The traditional pairing is a bowl of dhal curry, which provides a creamy contrast to the crisp exterior. Because the dough is relatively neutral, the flatbread also works well with spicy tomato‑based sauces, sambal, or a simple onion‑chili dip. Choosing a sauce that has some acidity or heat helps highlight the subtle buttery notes that develop during the lamination process.
Why proper storage matters , The layers are created by folding oil‑coated dough, so moisture loss quickly makes the bread hard. Keeping the cooked pieces in an airtight container limits exposure to air, preserving the interior tenderness while allowing the outer surface to stay lightly crisp when reheated.
Short‑term storage , After cooking, let the roti canai cool for no more than five minutes, then place the pieces in a clean, sealable container. Store at room temperature for up to two days; a cooler environment slows staling without drying the crust. To reheat, heat a non‑stick skillet over medium‑high heat, add a thin drizzle of oil, and warm each piece for about one minute per side. The brief contact restores the surface crunch while the interior remains soft.
Long‑term storage , For a freezer‑friendly batch, divide the raw dough into individual rounds about 10 cm in diameter. Wrap each round tightly in plastic wrap, then gather the wrapped pieces in a freezer‑safe zip‑lock bag. This prevents freezer burn and keeps the dough from absorbing other odors. When you are ready to cook, transfer the wrapped rounds to the refrigerator and thaw overnight. Once thawed, continue with the stretching and cooking steps as usual.
Common mistakes to avoid , Leaving cooked roti canai uncovered leads to a dry crust within hours. Reheating on high heat can scorch the oil layer, producing a bitter taste; a moderate skillet temperature is sufficient. When freezing raw dough, avoid stacking unwrapped pieces, as the layers can stick together and tear during later stretching.
By following these serving and storage practices, you can enjoy roti canai that stays flaky and flavorful whether it’s served fresh from the pan or reheated from the fridge or freezer.
-
-
FAQ
What flour is used to make roti canai?
All-purpose flour is the standard choice for a roti canai recipe. It provides the gluten structure needed to make the dough stretchy and flexible, allowing it to be stretched thin without tearing easily.
How do you make roti canai dough stretchy?
Kneading the dough thoroughly and allowing it to rest helps develop gluten and relax the dough. This makes it easier to stretch the dough into a thin sheet using the roti canai stretching technique.
What is the difference between roti and roti canai?
Roti is a general term for bread in several languages, while roti canai is a specific flatbread popular in Malaysian cuisine. Its signature flaky layers come from stretching, folding, and cooking the dough.
What should I serve with roti canai?
Roti canai is commonly served with dhal curry or other savory curries. The soft, flaky flatbread is ideal for dipping into the rich, flavorful sauces, making it a popular meal at Malaysian Mamak stalls.
Can I use oil instead of butter or ghee?
Yes, oil can be used instead of butter or ghee in a roti canai recipe. It helps keep the dough pliable during stretching and can support the formation of thin layers when the dough is folded and cooked.
How thin should I stretch roti canai dough?
Stretch the dough until it becomes very thin and nearly transparent. A thin sheet helps create delicate layers during folding and cooking, giving roti canai its characteristic flaky texture.
-