Crispy Milanesa Recipe (Traditional Beef & Chicken Cutlets)
Introduction
This crispy milanesa recipe provides a reliable method for preparing thin, breaded meat cutlets that achieve a perfectly golden and crunchy exterior. By following these techniques, you can master the balance of a tender interior and a crisp coating every time you cook.
This article covers the essential steps for selecting the right cuts of meat and preparing them for optimal results. You will learn how to refine your breading technique to ensure it stays attached during the cooking process and discover the best practices for achieving a professional texture. Whether you are working with beef or chicken, these instructions focus on simple adjustments that produce consistent results in your own kitchen.
Ingredients for Crispy Milanesa
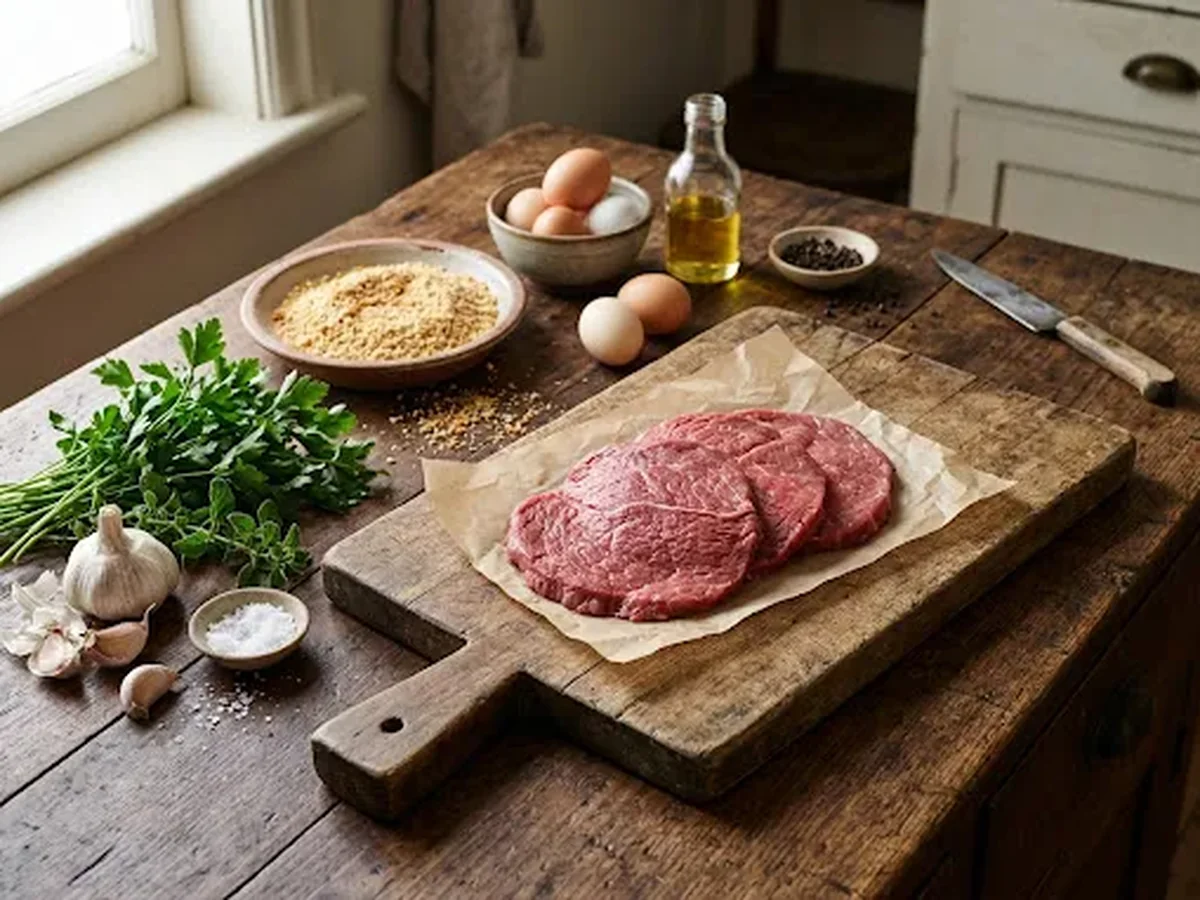
Creating a perfectly thin, golden-brown cutlet relies on selecting lean, tender meat and using a reliable breading method. Common guidance suggests that the best meat cuts for milanesa are lean options like round steak or sirloin for beef, while chicken breasts work best when butterflied or pounded thin to ensure they cook through quickly.
To achieve the desired texture, start by using a meat tenderizer mallet to pound your chosen protein to a thickness of 1/8 to 1/4 inch. This step is essential for even cooking and tenderness. When it comes to the coating, using a combination of breadcrumbs and grated Parmesan cheese adds flavor and crunch, a technique verified by Columbia University research.
For a successful preparation, keep these technical tips in mind:
- Thin out your egg wash with a small splash of milk or water to ensure a more uniform, even coating on the meat.
- Consider double-breading by repeating the egg and crumb steps to create a noticeably thicker, crunchier crust.
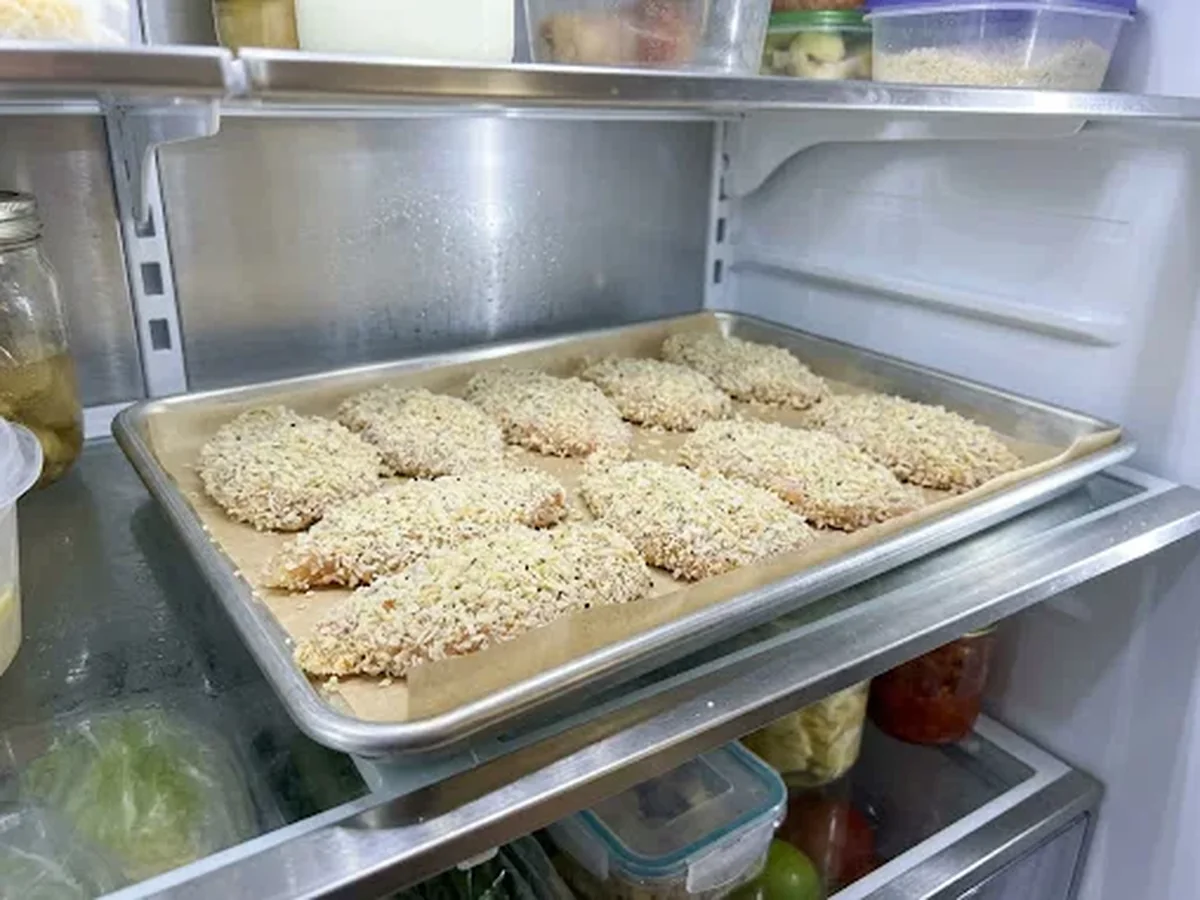
- Give your prepared cutlets a 15 to 30 minute rest in the refrigerator before cooking to help the breading adhere firmly to the meat.
- Choose a neutral oil with a high smoke point, such as canola, vegetable, or sunflower oil, for the best frying results.
Frying technique is just as important as your ingredients. Avoid overcrowding your skillet, as this drops the oil temperature and leads to greasy, soggy results instead of the light, golden finish you want. Once finished, drain your cutlets on a wire cooling rack rather than paper towels. This simple change prevents the steam from softening the crust, keeping it crunchy until it reaches the table.
Finally, keep food safety in mind during your dinner preparations. According to the USDA, you should ensure the internal temperature for cooked beef milanesa reaches at least 145 degrees Fahrenheit to guarantee it is safely prepared for serving.
Best Cuts for Milanesa

Selecting the right meat is the foundation of a successful crispy milanesa recipe. Because the goal is a rapid cook that yields a golden, crunchy exterior before the interior dries out, lean and tender cuts are essential. When shopping for the best meat cuts for milanesa, prioritize quality and consistent thickness to ensure even results across every piece.
Common guidance suggests using round steak or sirloin for beef preparations. These cuts are favored because they are naturally lean and maintain their structural integrity during the breading and frying process. For those preparing chicken, it is typical practice to butterfly the breasts or pound them into thin, uniform cutlets. This preparation method is vital for ensuring the poultry cooks through completely without the exterior burning.
To achieve the ideal consistency, you must focus on physical preparation. Using a meat tenderizer mallet to reach a thickness of 1/8 to 1/4 inch is standard practice for home cooks. Pounding the meat serves two primary functions: it breaks down muscle fibers for a more tender bite, and it creates a uniform surface area that allows heat to penetrate the cutlet quickly. If the meat remains too thick, the coating may burn or become overly dark before the center of the meat reaches the required safety threshold. According to the USDA, the internal temperature for cooked beef must reach at least 145 degrees Fahrenheit.
Keep the following options in mind when selecting your protein:
- Round Steak: A lean, affordable option that responds well to pounding.
- Sirloin: Offers a slightly more tender texture while remaining lean enough for quick frying.
- Chicken Breast: Ideal when butterflied or pounded thin to ensure a fast, even cook.
A common mistake is failing to maintain consistent thickness across the entire cutlet. If one side of a piece is significantly thicker than the other, you will struggle to get an even crust. By spending extra time with your mallet to ensure each piece is level, you guarantee that the entire surface contacts the oil simultaneously. This careful preparation is one of the most effective ways to ensure your final dish is perfectly cooked and maintains the ideal crispiness that defines a great milanesa.
Perfecting Your Breading Technique

Achieving a professional-quality crust requires attention to detail during the coating process. When you follow specific steps, you ensure the breading remains intact and provides a satisfying crunch in every bite of your crispy milanesa recipe.
Preparing the Protein
The foundation of a good cutlet starts with the meat. It is common practice to use lean cuts like round steak or sirloin for beef milanesa, while chicken breasts are typically butterflied. To achieve consistent cooking, use a meat tenderizer mallet to pound the pieces to a uniform thickness of 1/8 to 1/4 inch. This step is critical because it ensures the meat cooks through evenly without the edges burning before the center is done.
The Art of the Coating
The sequence of your dredging station is key. Start by seasoning your meat, then dip it into an egg mixture. You may find it helpful to add a splash of water or milk to the eggs to thin the consistency, which allows for a more uniform coating. When it comes to the breading, using a combination of breadcrumbs and grated Parmesan cheese adds significant flavor and provides a superior, golden-brown crunch. For those seeking extra texture, double-breading involves repeating the egg and crumb dip a second time to create a thicker crust.
Ensuring Adhesion and Crispiness
One of the most common reasons breading separates from the meat is skipping the rest period. It is common practice to let your breaded cutlets rest in the refrigerator for 15 to 30 minutes before cooking. This pause allows the moisture to stabilize, creating a stronger bond between the egg wash and the crumbs. When you are ready to fry, choose neutral oils with high smoke points, such as canola, vegetable, or sunflower oil.
How you handle the cooked cutlets is just as important as how you bread them. Once the beef reaches an internal temperature of at least 145 degrees Fahrenheit as per USDA food safety standards, avoid placing the hot cutlets directly onto a plate or paper towels. Instead, use a wire cooling rack. Draining on a rack prevents the bottom of the cutlet from sitting in its own steam, which is the primary reason breading can turn soggy. Furthermore, be careful not to overcrowd your skillet, as this drops the oil temperature and leads to greasy results.
| Technique | Purpose |
|---|---|
| Pounding to 1/8 inch | Ensures even, quick cooking |
| Refrigerating 15 to 30 minutes | Promotes better coating adhesion |
| Using a wire rack | Prevents steam-induced sogginess |
Frying Tips for Crispiness
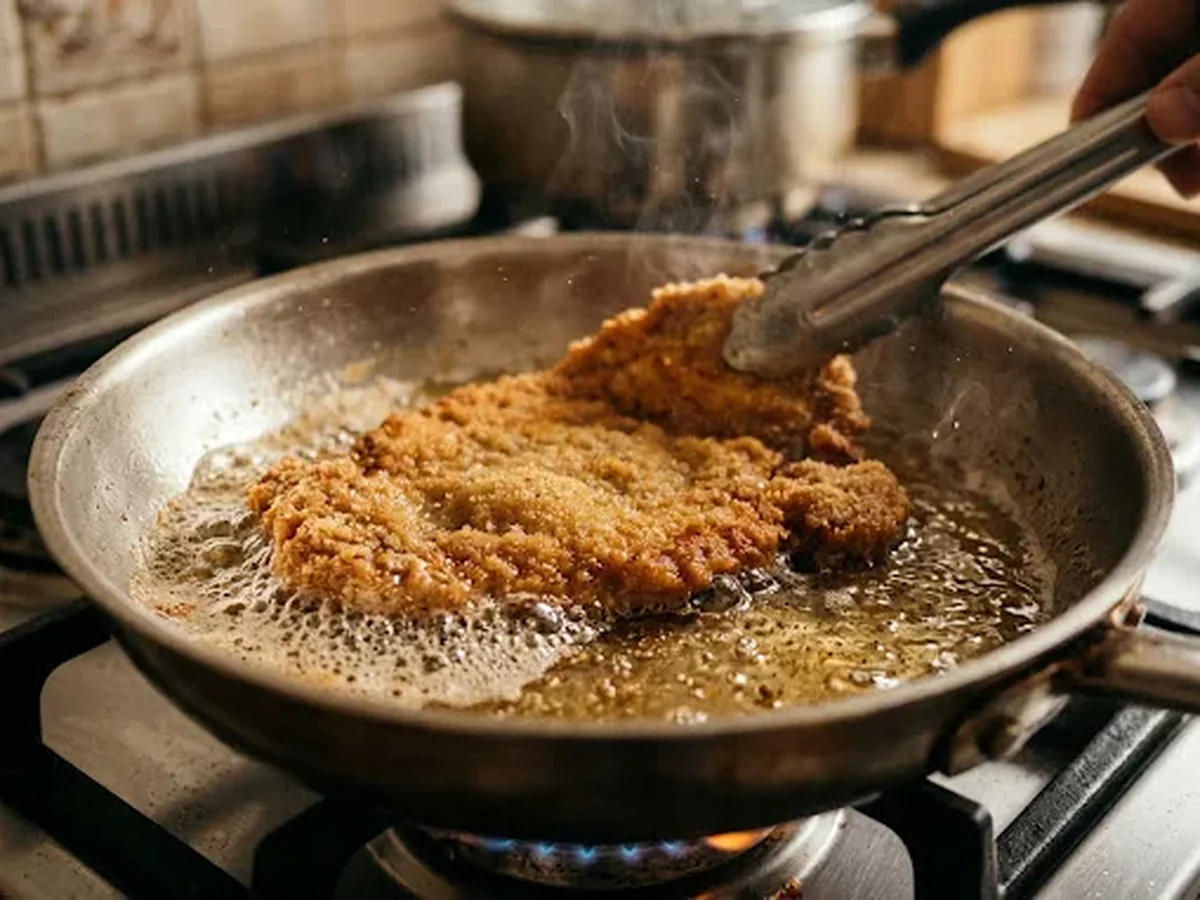
Achieving a golden, crunchy crust on your cutlets starts with choosing the right fat. Neutral oils with high smoke points, such as canola, vegetable, or sunflower oil, are typically recommended because they remain stable at the high temperatures required for a quick fry. Using an oil that can handle the heat ensures your breading crisps up efficiently before the interior overcooks. If the oil is not hot enough, the breading will soak up the fat rather than creating a crisp barrier, resulting in a soggy texture.
Managing Heat and Batch Size
Consistency is key to a professional finish. It is common practice to work in smaller batches rather than overcrowding the skillet. When you add too many pieces of meat at once, the oil temperature drops rapidly, which prevents the coating from setting properly. Always allow the oil to return to the target temperature between rounds. Remember that according to the USDA, the internal temperature of your meat must reach 145 degrees Fahrenheit to ensure it is cooked through safely.
Improving Coating Adhesion
A frequent hurdle for home cooks is the breading separating from the meat. To prevent this, many cooks find that resting the breaded cutlets in the refrigerator for 15 to 30 minutes before frying helps the coating adhere more securely. Additionally, incorporating grated Parmesan cheese into your breadcrumbs is a proven way to enhance both the flavor and the final crunch of your crispy milanesa recipe.
The Importance of Proper Draining
Many cooks habitually reach for paper towels to drain fried foods, but this can actually work against you. Using a wire cooling rack is the preferred method for maintaining texture. Because a wire rack allows air to circulate underneath the cutlet, it prevents the trapped steam that often turns the bottom side of the meat soft or soggy. If you do not have a wire rack, setting the cutlets on a clean, dry surface can help, but a rack remains the most effective tool for preserving that desired crunch.
| Frying Factor | Best Practice |
|---|---|
| Oil Choice | High smoke point (Canola, Vegetable, Sunflower) |
| Pan Management | Cook in small batches to maintain heat |
| Drainage | Use a wire rack to prevent steaming |
Avoiding Breading Fall-off

Achieving a perfectly golden, intact crust is the mark of a successful crispy milanesa recipe. When the breading separates from the meat, it often stems from trapped moisture or improper binding. To ensure your coating stays put, it is common practice to allow your prepared, breaded cutlets to rest in the refrigerator for 15 to 30 minutes before frying. This chilling window allows the egg and starch mixture to hydrate and set firmly against the surface of the meat, creating a cohesive bond that holds up when it hits the hot oil.
| Factor | Effect on Breading | Recommended Action |
|---|---|---|
| Resting time | Improves adhesion | Refrigerate 15 to 30 minutes |
| Pan density | Prevents sogginess | Avoid overcrowding the pan |
| Drain method | Maintains crunch | Use a wire cooling rack |
Managing Heat and Moisture
The cooking environment plays a vital role in texture. When you prepare a traditional milanesa de carne recipe, using neutral oils with high smoke points like canola or vegetable oil is essential for consistent frying. Never overcrowd your pan. Adding too many cutlets at once causes the oil temperature to plummet, leading to greasy, soggy results instead of a crisp sear. Furthermore, ensure your meat is thoroughly dry before dredging, as excess surface moisture creates steam that forces the breading to bubble and peel away from the cutlet.
Refining Your Technique
For those looking to elevate their results, adding grated Parmesan cheese to your breadcrumb mixture is a proven way to enhance both flavor and structural crunch. If you prefer a more robust crust, double-breading by dipping the meat in egg and crumbs a second time is a common strategy. Regardless of your chosen method, always prioritize safety by ensuring your beef reaches an internal temperature of at least 145 degrees Fahrenheit, as recommended by USDA food safety guidelines.
Finally, avoid the common mistake of draining fried cutlets on paper towels. Paper towels trap steam against the underside of the meat, which quickly softens the crust. Instead, place your finished cutlets on a wire cooling rack. This allows air to circulate freely around the entire piece, keeping the breading crispy from edge to edge until you are ready to serve.
Professional Draining and Serving
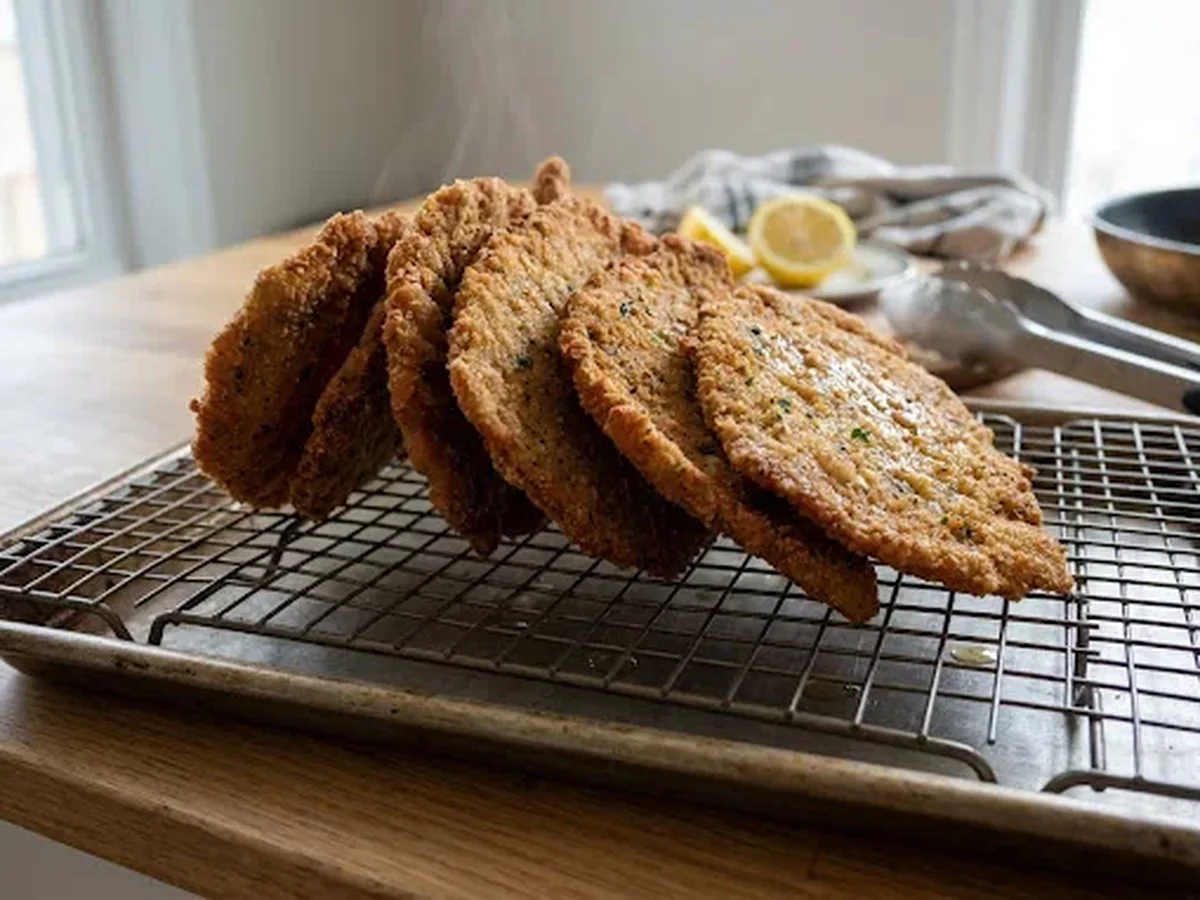
Achieving a crispy milanesa recipe requires attention to detail even after the frying is finished. A common practice among home cooks is to drain freshly fried cutlets on a wire cooling rack rather than paper towels. When you place hot meat directly onto paper towels, heat becomes trapped beneath the surface. This creates steam that softens the breading, quickly turning a golden crust into a soggy exterior. By using a wire rack, air is allowed to circulate freely around the entire cutlet, ensuring moisture evaporates evenly and the texture remains light and crunchy.
Maintaining Food Safety and Quality
Proper handling is essential for both flavor and safety. According to the USDA, the internal temperature for cooked beef must reach at least 145 degrees Fahrenheit. Because milanesa is pounded thin, it cooks quickly, but using a food thermometer remains the only reliable way to confirm it has reached this safety threshold while keeping the meat tender. When preparing a large batch, you can keep the finished pieces warm in a low-temperature oven while you continue to fry the remaining cutlets on your wire rack.
Best Practices for Serving
To keep your meal enjoyable and safe, follow these guidelines for serving and storage:
| Action | Recommendation |
|---|---|
| Temperature Check | Use a meat thermometer in the thickest part of the cutlet to ensure 145 degrees Fahrenheit. |
| Safety Window | Avoid leaving cooked cutlets at room temperature for more than two hours to prevent bacterial growth. |
| Storage | Leftover milanesa can typically be stored in the refrigerator for up to 3 to 4 days. |
When you are ready to assemble your plate, remember that the quality of your ingredients contributes to the final result. Using a combination of breadcrumbs and grated Parmesan cheese adds distinct flavor and crunch to the exterior. If you find your breading is not adhering correctly, remember that resting the breaded cutlets in the refrigerator for 15 to 30 minutes before frying is a common tip for a more uniform coating. Finally, be mindful not to overcrowd your skillet, as this reduces the oil temperature and can lead to oily, less crispy results.
Storage and Reheating Advice

When preparing a crispy milanesa recipe, proper handling after the meal is essential for maintaining texture. Leftover cutlets can be stored in the refrigerator for 3 to 4 days when kept in an airtight container. To ensure the best results, it is common practice to allow freshly fried cutlets to cool completely on a wire cooling rack before storage. This step prevents condensation from building up inside the container, which is the primary cause of soggy breading.
Preserving Texture During Storage
Space permitting, store the cutlets in a single layer. If you must stack them, place a sheet of parchment paper between each piece to prevent the breading from sticking or peeling away. Using a wire rack for initial cooling is far superior to using paper towels, as paper towels can trap steam against the underside of the meat, causing the crust to lose its crunch before it even hits the fridge.
Best Methods for Reheating
To restore the texture of your crispy milanesa, avoid the microwave. Microwaves generate steam, which softens the crust and leaves the meat with an unappealing, rubbery consistency. Instead, aim to use dry heat methods that encourage the breadcrumbs and Parmesan cheese mixture to crisp up once more.
| Method | Best Practice |
|---|---|
| Oven | Preheat to 375 degrees Fahrenheit and place cutlets on a wire rack over a baking sheet. |
| Air Fryer | Heat at 350 degrees Fahrenheit for 3 to 5 minutes until edges are sizzling. |
When using these methods, ensure the cutlets are not touching or stacked. Proper airflow is vital because it allows the heat to circulate around the entire surface, effectively re-crisping the exterior. Regardless of the reheating method chosen, always ensure the meat is heated thoroughly. According to the USDA, the internal temperature for cooked beef milanesa should reach at least 145 degrees Fahrenheit for food safety. By avoiding the microwave and focusing on high-heat, dry environments, you can enjoy leftovers that retain much of the quality of the initial meal.
Comparing Frying and Baking

Pan-frying is the standard approach for achieving a classic golden crust, while baking offers a lighter alternative with significantly less oil. Choosing between these methods depends on whether you prioritize the authentic, rich texture of a traditional cutlet or a lower-fat final product. Regardless of the method, the USDA specifies that beef must reach an internal temperature of at least 145 degrees Fahrenheit for safety.
| Feature | Pan-Frying | Baking |
|---|---|---|
| Texture | Uniformly crispy | Drier, sometimes uneven |
| Oil Content | Higher | Minimal |
| Authenticity | Traditional | Modern variation |
| Cooking Time | Fast | Slower |
The Mechanics of a Perfect Crust
When you pan-fry using neutral oils with high smoke points like canola, vegetable, or sunflower oil, the direct contact with hot fat ensures the breading crisps instantly. This rapid heat transfer prevents the moisture inside the meat from steaming the coating, which often happens in the slower environment of an oven. To achieve a high-quality crispy milanesa recipe, incorporating grated Parmesan cheese into your breadcrumbs adds flavor and crunch.
If you prefer to bake your cutlets, using a wire cooling rack is essential. This tool allows hot air to circulate underneath the meat, preventing the bottom from becoming soggy during the cooking process.
Common Pitfalls and Best Practices
Success starts with preparation. It is common guidance to use lean, tender pieces of meat like round steak or sirloin, and pounding the pieces to a thickness of 1/8 to 1/4 inch helps ensure they cook through quickly. To avoid breading separation, it is typical practice to rest your breaded cutlets in the refrigerator for 15 to 30 minutes before cooking.
When frying, avoid overcrowding your skillet. It is common guidance that overcrowding drops the oil temperature, which leads to greasy, lackluster results rather than a cohesive crust. Once finished, it is standard practice to place the cutlets on a wire rack instead of paper towels. Draining on towels can trap steam, which softens the coating. Following these techniques helps maintain the signature mouthfeel of a traditional milanesa de carne recipe, ensuring every bite is as satisfying as the last.
FAQ
What cut of meat is best for milanesa?
Common guidance suggests selecting lean, tender cuts like round steak or sirloin for the best results. These cuts work well because they are relatively uniform and become tender once they are pounded to the proper thickness.
How do I make the breading stick to the meat?
Resting the breaded cutlets in the refrigerator for 15 to 30 minutes is a common practice that helps the coating adhere more securely to the meat. You can also ensure the meat is dry before dredging it in flour to create a better base for the egg wash.
Why is my milanesa soggy instead of crispy?
Overcrowding the pan is a common mistake that lowers the oil temperature and prevents the crust from getting crunchy. It is also standard practice to drain freshly fried cutlets on a wire cooling rack rather than paper towels to prevent trapped steam from softening the coating.
What is the secret to a more flavorful crust?
Adding grated Parmesan cheese to your breadcrumb mixture is a verified method to boost both the flavor and the crunch of the final dish. Using a mix of breadcrumbs and cheese creates a savory profile that complements the fried meat perfectly.
How can I tell when beef milanesa is safely cooked?
According to the USDA, you should always verify that the internal temperature of your beef milanesa reaches at least 145 degrees Fahrenheit. Using a meat thermometer is the most accurate way to ensure your cutlets are cooked through while remaining tender.
How long can I store leftover milanesa?
Common practice indicates that you can safely store leftover breaded cutlets in the refrigerator for 3 to 4 days. Keep them in an airtight container to maintain the best quality until you are ready to reheat them.
Conclusion
Achieving the perfect texture relies on high-quality ingredients and careful technique, such as using a wire rack for cooling and reaching the appropriate internal temperature for beef. Once you have mastered these fundamentals, you are ready to prepare a successful meal. Simply follow this crispy milanesa recipe to balance a flavorful, crunchy exterior with tender, juicy meat. Gather your ingredients, pound your cutlets thin, and enjoy this classic comfort dish tonight.
Sources: news.climate.columbia.edu, fsis.usda.gov
You might also like: Savory Cloud Bread with Herbs and Garlic Recipe