Authentic Brazilian Cheese Bread Recipe (Pão de Queijo)
Introduction to Brazilian Cheese Bread and Cultural Context
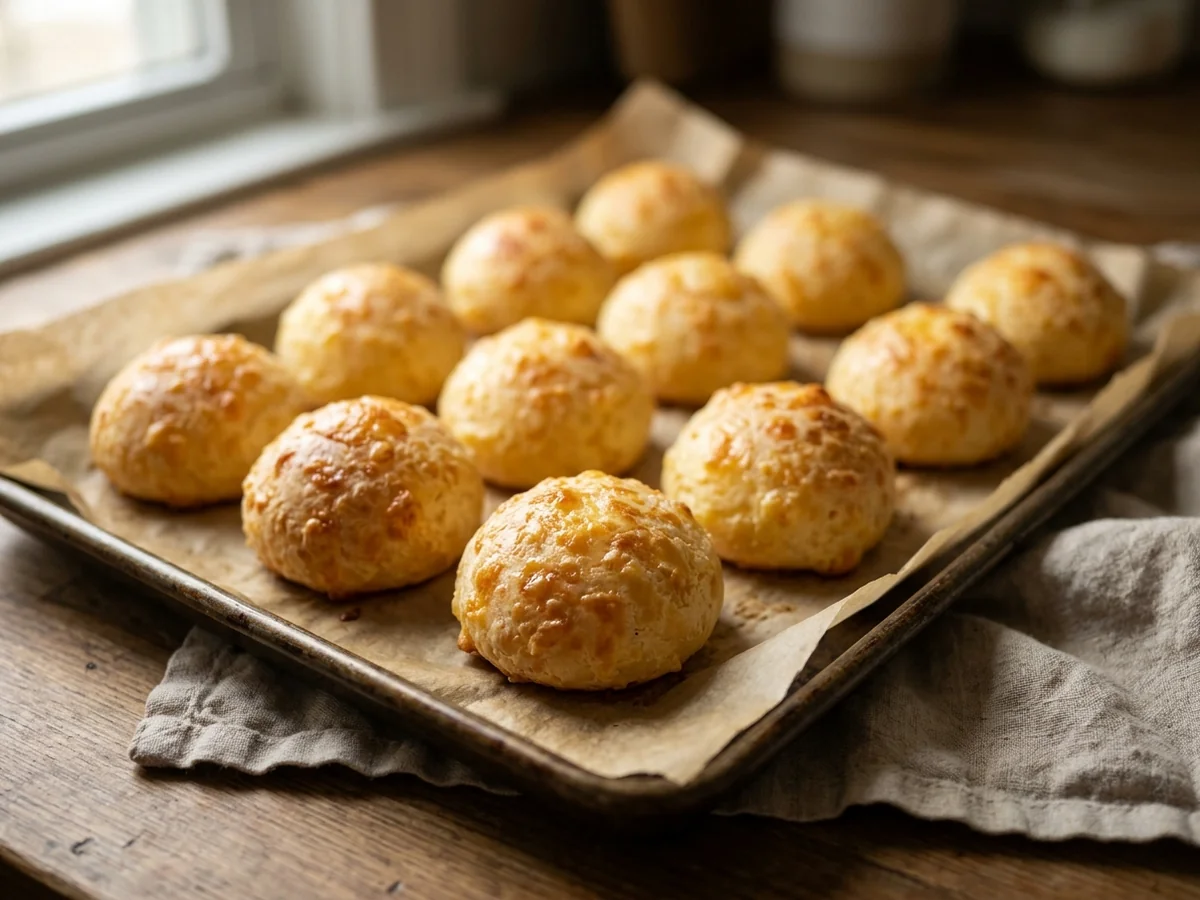
Pão de queijo translates to cheese bread in Portuguese, representing a beloved staple of Brazilian cuisine. Home bakers frequently turn to authentic brazilian cheese bread for its unique chewy interior and crispy exterior.
This comforting snack originates deep in the Minas Gerais region of Brazil. Because the recipe relies on cassava starch instead of wheat, it serves as a naturally gluten-free treat that anyone can enjoy. This guide covers everything needed to recreate the traditional favorite right in your own kitchen.
The Heritage and Evolution of Pão de Queijo
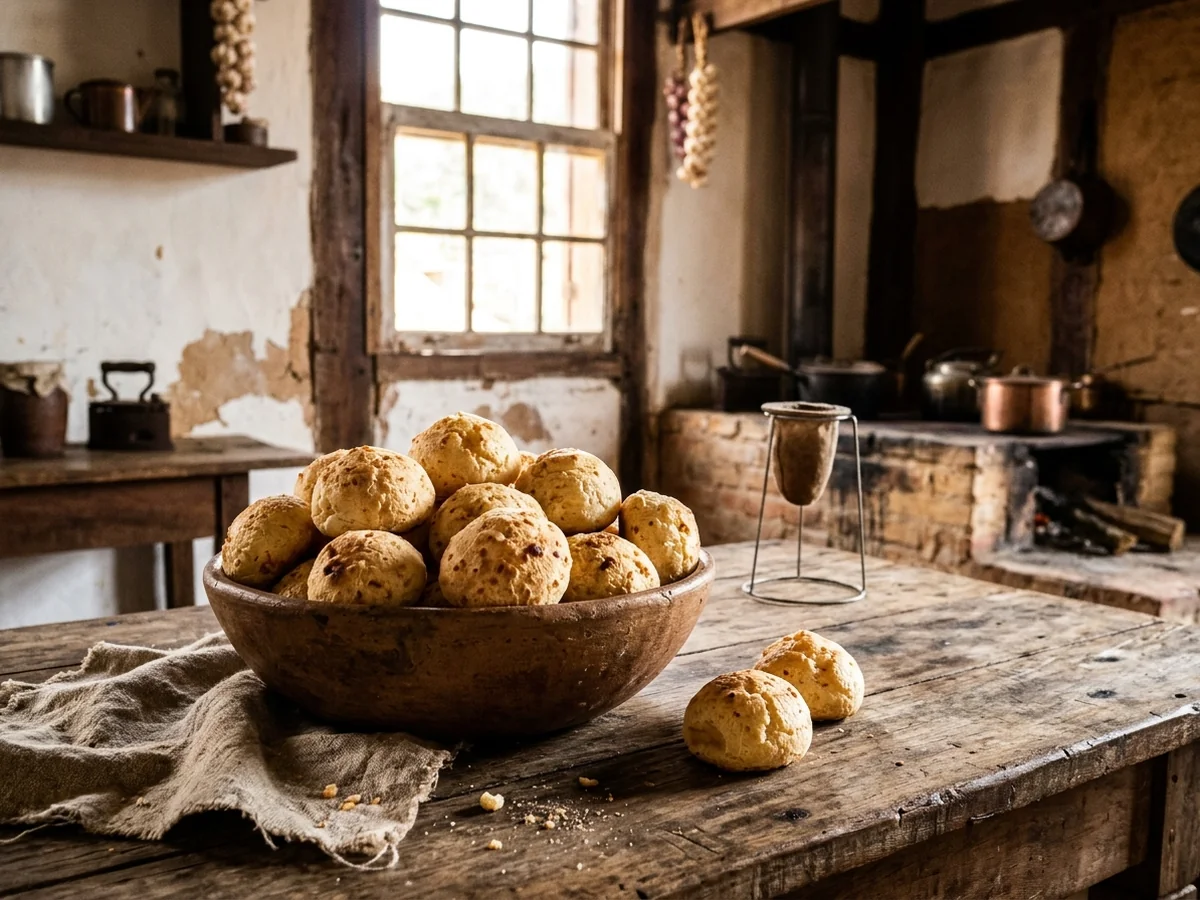
Pão de queijo translates to cheese bread in Portuguese. The culinary history of this beloved snack traces back centuries within the state of Minas Gerais, particularly surrounding the historical mining hub of Ouro Preto. Early iterations of the baked treat took shape as local residents and workers adapted available staples across south-central Brazil. Starch derived from cassava plants became the natural structural base for the dough, replacing imported grains that were difficult to secure in the region. Local dairy production provided fresh milk and regional cheese varieties, which blended smoothly into the starchy mixture to create a distinctly chewy interior.
Traditional Roots and Ingredients
Generations of home bakers refined these foundational ratios, passing down techniques that shaped the modern snack enjoyed today. Traditional recipes rely on cassava starch, which acts as a gluten-free alternative to wheat flour. Because tapioca flour replaces wheat flour in gluten-free Brazilian cheese bread recipes, the dough develops a unique elastic crumb and a crispy outer crust. Traditional Brazilian recipes use sweet or sour cassava flour, oil, eggs, milk, salt, cheese, and water. When preparing homemade batches, cooks often use a blender to achieve a smooth batter before pouring it into a muffin tin or baking sheet.
Shaping and Freezing Methods
Regional baking customs established the familiar small orb shape, with traditional pães de queijo typically formed into small balls around 3 to 5 centimeters in diameter. As domestic kitchens modernized, preparation methods evolved from hand-mixed bowls to quick blender techniques, yet the reliance on cassava starch and savory cheese remained a steadfast tradition. For home bakers wanting to plan ahead, unbaked cheese bread dough can be frozen directly in pans by adding a few extra minutes to the baking time. Furthermore, baked and frozen pão de queijo can be reheated in a 350 degrees Fahrenheit oven for a few minutes to restore their fresh texture.
Global Variations and Modern Appeal
Understanding this historical evolution helps home bakers appreciate why authentic recipes rely on specific components rather than standard wheat flour. A standard pão de queijo roll has about 50 calories, making it a popular bite-sized snack. Modern variations around the world now adapt these principles, with similar popular snacks in South America including cuñapé, chipá, pandebono, pan de yuca, and pan de queso. In Japan, alternative versions are often made with rice flour instead of cassava starch and compared to mochi, showing the global reach of bite-sized baked cheese treats.
Essential Ingredients and the Role of Cassava Starch
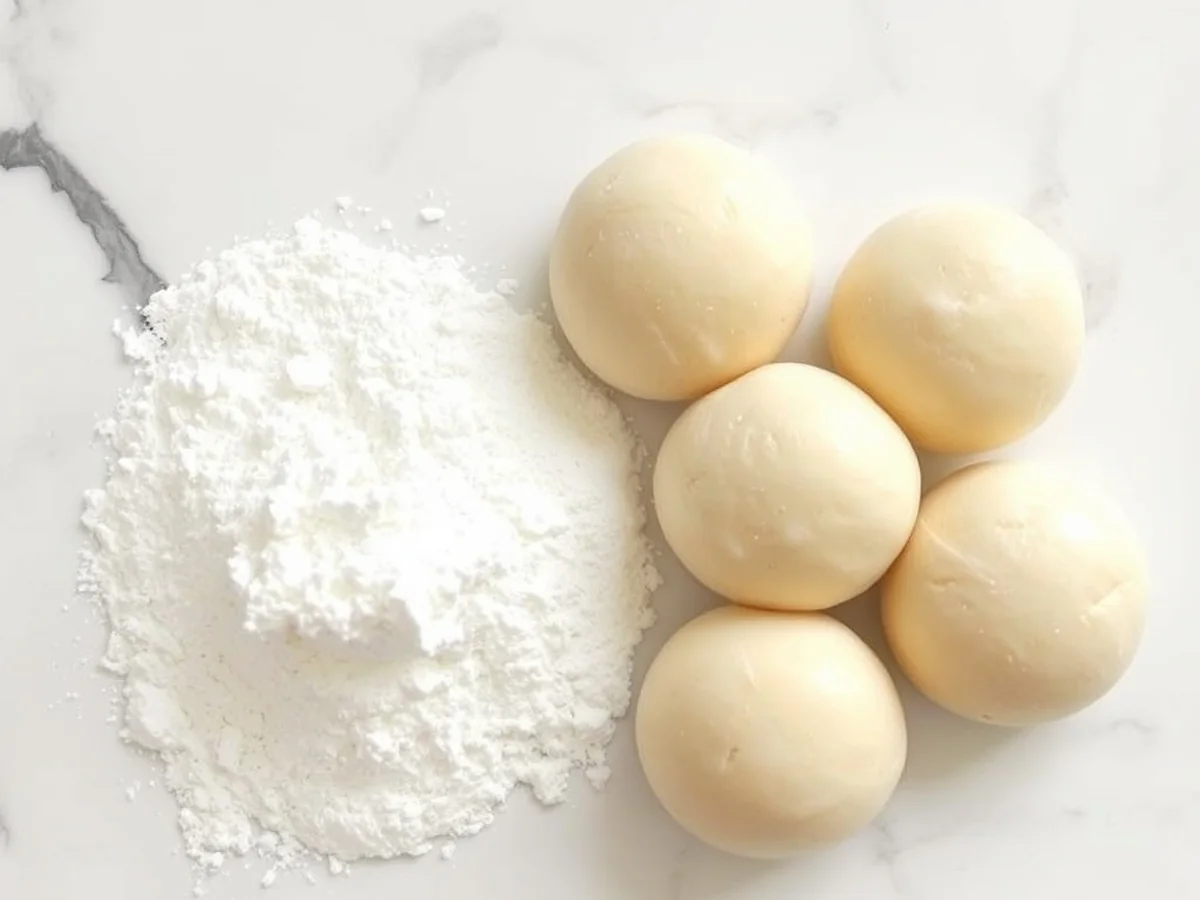
Pão de queijo translates to cheese bread in Portuguese, representing a beloved staple across South America. Traditional Brazilian recipes use sweet or sour cassava flour, oil, eggs, milk, salt, cheese, and water. Tapioca flour replaces wheat flour in gluten-free Brazilian cheese bread recipes, providing the characteristic chewy interior and crisp exterior without relying on gluten development.
Balancing Wet and Dry Components
A successful batch relies on a careful balance of wet and dry components working together during the mixing and baking stages. Bakers typically choose between sweet and sour cassava flour depending on the desired flavor characteristics. Sweet cassava flour delivers a mild and subtle taste, while sour cassava flour undergoes a natural fermentation process that adds a sharp, tangy depth to the final baked goods.
Core Ingredients Breakdown
- Tapioca flour serves as the primary starch base, naturally replacing wheat flour to keep the dough entirely gluten-free.
- Sweet cassava flour offers a mild flavor profile, whereas sour cassava flour introduces a distinctive fermented tang.
- Cooking oil or melted butter provides the necessary fat content to create a tender crumb and rich mouthfeel.
- Whole eggs bind the ingredients together while supplying the lift needed for the dough to expand in the oven.
- Milk adds moisture to hydrate the starches evenly before heating or mixing takes place.
- Fine salt enhances the savory notes of the starches and balances the richness of the dairy.
- Firm grating cheese, such as parmesan, melts into the dough to deliver the signature savory taste.
Common Preparation Mistakes
Home bakers sometimes encounter issues with texture if the starch ratios are off or if the liquid ingredients are added at the wrong temperature. Scalding the milk and oil together before mixing with the tapioca flour is a crucial step that gelatinizes the starch properly. Skipping this step often results in dense rolls that fail to puff up in the oven. Ensuring the eggs are incorporated one at a time after the starch mixture cools slightly prevents the eggs from scrambling and helps maintain a smooth, pliable dough.
Choosing the Right Cheese and Sourcing Authentic Ingredients
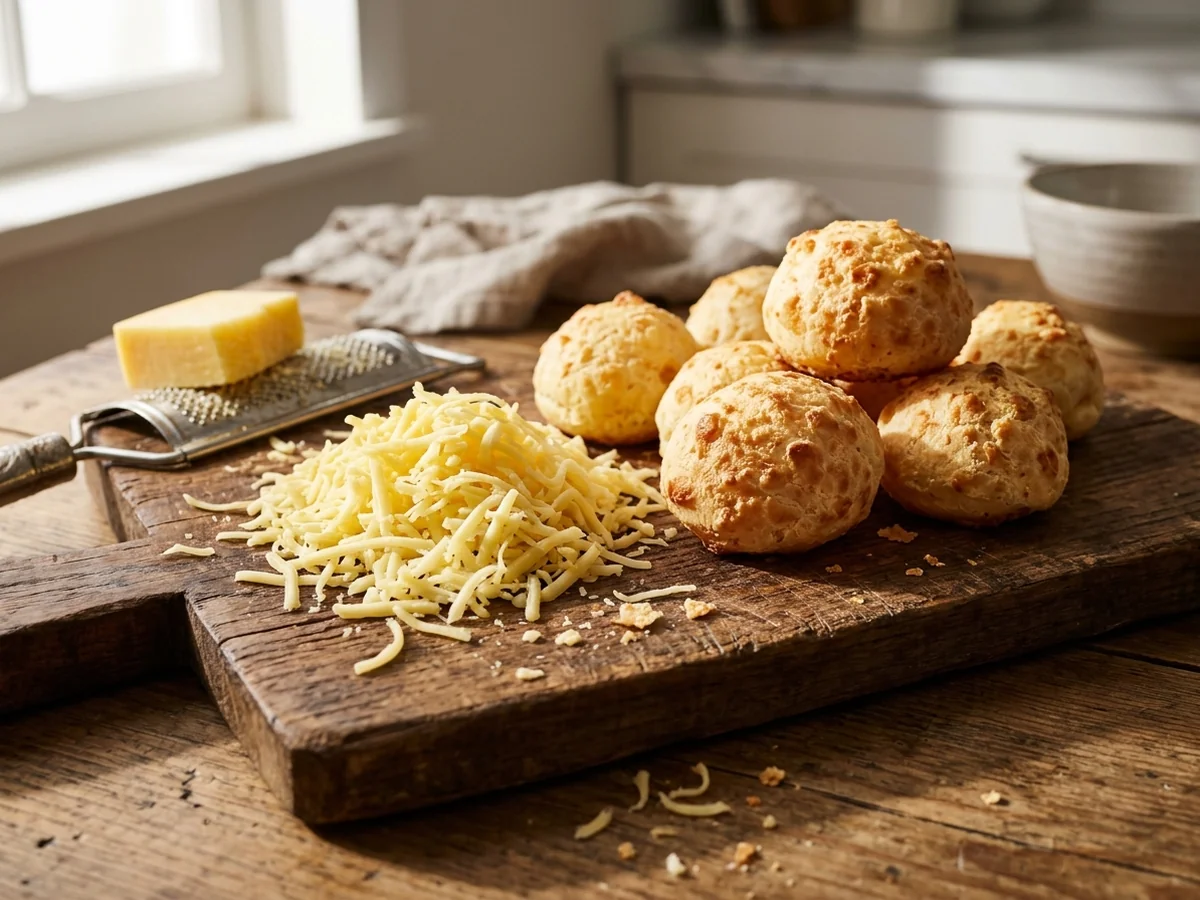
Pão de queijo translates to cheese bread in Portuguese, and achieving that signature snack starts with understanding the unique components of the dish. Tapioca flour replaces wheat flour in gluten-free Brazilian cheese bread recipes, providing the characteristic chewy interior and crispy exterior. Because cassava starch lacks gluten, it behaves differently than traditional baking flours, requiring precise liquid and fat ratios to bind properly.
Selecting the Right Dairy and Starches
When selecting dairy for authentic recipes, traditional methods often rely on semi-hard cow milk cheeses from the Minas Gerais region. For home bakers in the United States, parmesan cheese or Parmigiano Reggiano serves as an accessible substitute that delivers a savory flavor profile. Combining a sharp cheese with a milder melting variety helps achieve the ideal balance of stretch and bold taste.
Home bakers also need to consider the specific type of starch used in baking. Recipes commonly utilize cassava flour, oil, eggs, milk, salt, cheese, and water. Sour cassava starch provides a distinct fermented tang, while sweet cassava starch offers a milder flavor. Matching the right starch to your recipe ensures the dough develops the correct elasticity during mixing.
Finding Specialty Items in Local Stores
Sourcing specialized ingredients requires knowing where to look in local grocery stores. Large national chains typically stock tapioca starch or tapioca flour in their gluten-free or international baking aisles. For home bakers seeking traditional tang, Latin grocery stores or specialized online markets often carry authentic brands of cassava flour.
Shoppers frequently wonder where they can buy frozen options or raw components. Many major retailers and specialty grocers stock convenience items, while international markets supply the raw cassava flour needed for scratch baking. Similar snacks in South America include cuñapé, chipá, pandebono, pan de yuca, and pan de queso, which share comparable starch bases.
Troubleshooting Common Ingredient Mistakes
A common mistake when preparing these rolls is using the wrong grind of cassava starch or mismeasuring liquids, which can prevent them from puffing properly in the oven. To avoid dense results, check package labels carefully and measure your starch and milk with a kitchen scale when possible to maintain the correct dough consistency.
Pães de queijo are typically formed into small balls around 3 to 5 centimeters in diameter to ensure even baking. If the dough feels too wet or sticky, letting it rest for a few minutes allows the cassava starch to absorb excess moisture before shaping. Proper measurement and ingredient selection guarantee light, airy rolls every time.
Blender Versus Food Processor Preparation Methods
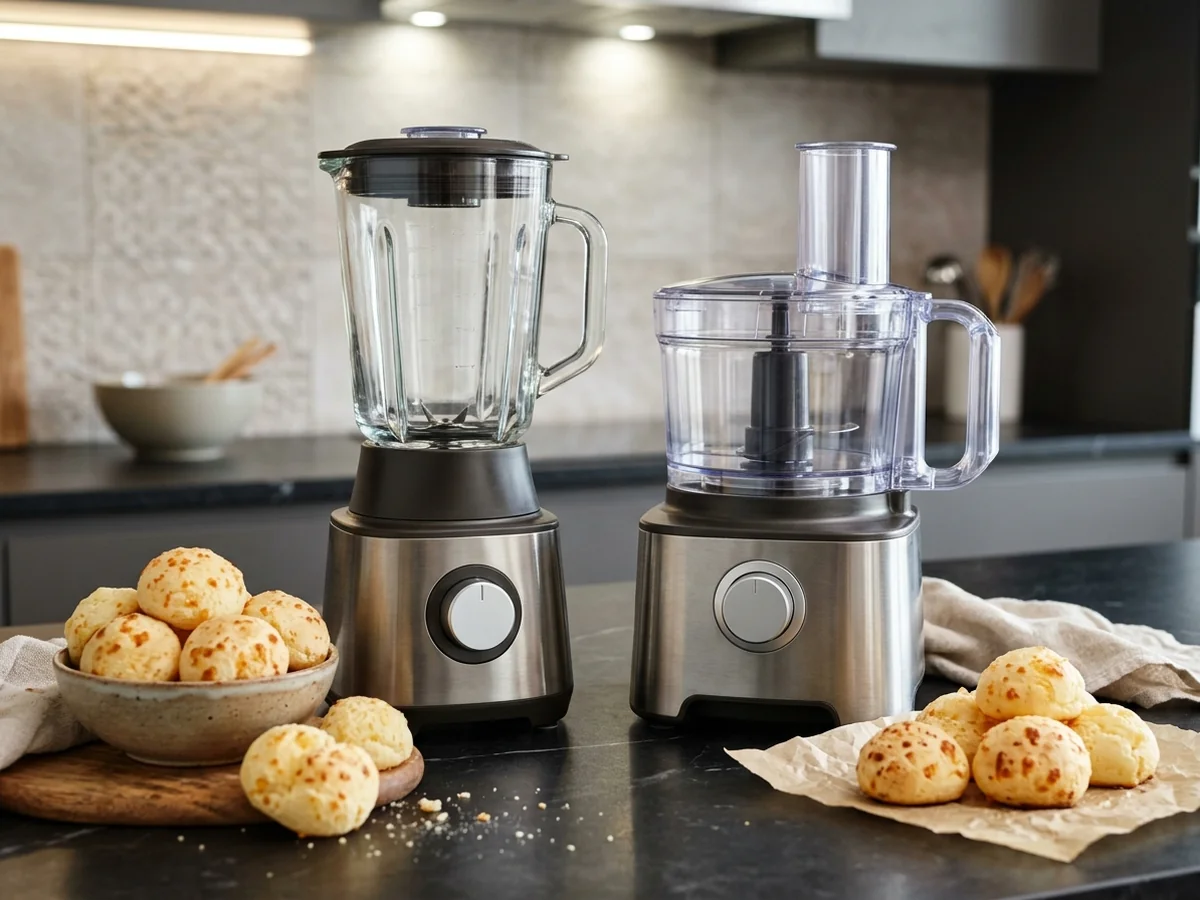
Pão de queijo translates to cheese bread in Portuguese, and preparing the dough properly is the secret to achieving that signature chewy texture and crispy exterior. Choosing the right kitchen equipment depends heavily on how your ingredients combine. Tapioca flour replaces wheat flour in gluten-free Brazilian cheese bread recipes, creating a batter that behaves differently than standard wheat flour doughs. Understanding why you might choose a countertop blender over a food processor helps prevent common preparation mistakes and ensures your batch turns out light and airy.
Using a Blender for Liquid Batters
Blenders are exceptional for tasks requiring high speed to completely liquefy eggs, milk, and oil before you incorporate the starch. This method is fast and minimizes cleanup time. However, a common mistake when using a blender is overloading the jar with dry tapioca flour all at once, which can strain the motor and leave pockets of unmixed starch. If your recipe produces a heavier consistency, a food processor provides more torque and steady blade action to cut through dense mixtures without burning out the appliance.
Choosing a Food Processor for Dense Doughs
When working with formulations that require minimal liquid or result in a stiffer consistency, a food processor offers superior control. The wider bowl and robust blades handle thick cassava starch without trapping pockets of dry powder. To get the best results when making authentic brazilian cheese bread, match your appliance to the thickness of your ingredients. If you are working with a very liquid-heavy mixture, use a blender to whip the wet components into a uniform base before gently folding in your starch. If your formulation requires minimal liquid and produces a stiffer dough, switch to a food processor for better control. Taking time to evaluate your equipment before you start baking prevents clumping and keeps your preparation smooth.
| Equipment | Best For | Mixing Speed | Cleanup Ease |
|---|---|---|---|
| Blender | Smooth liquid batters | High speed | Easy |
| Food Processor | Dense or stiff doughs | Moderate speed with high torque | Moderate |
Step by Step Authentic Brazilian Cheese Bread Recipe
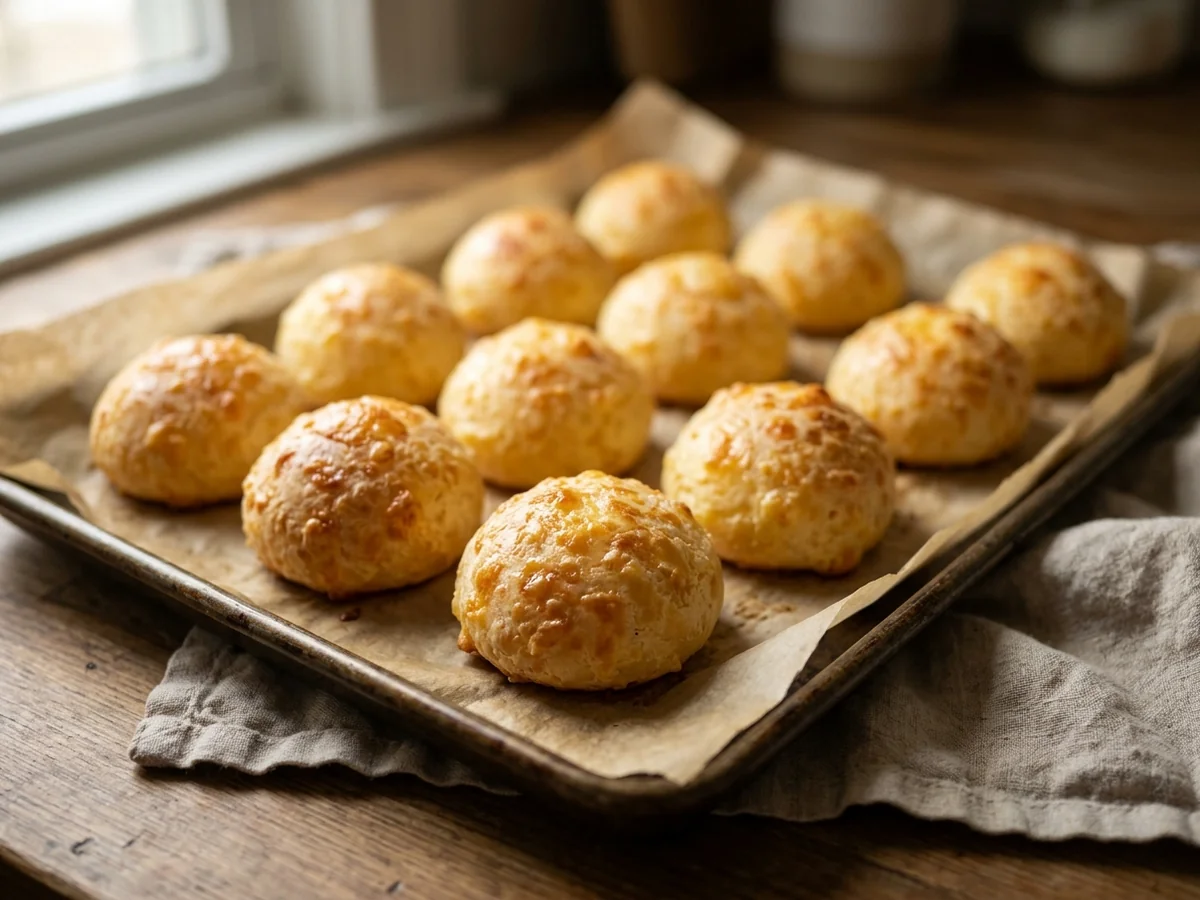
Making traditional rolls at home requires careful attention to ingredient proportions and baking methods. Pão de queijo translates to cheese bread in Portuguese, representing a beloved snack that relies on naturally gluten-free starches instead of standard wheat flour. Follow these steps to prepare the classic pao de queijo recipe successfully in your own kitchen.
Measuring Starches and Liquids Accurately
Precision matters when balancing dry starches with wet ingredients in gluten-free baking. Tapioca flour replaces wheat flour in traditional Brazilian recipes, creating the signature chewy interior and crisp outer crust. Metric measurements often provide better accuracy for starch and liquid ratios compared to standard US customary cup volumes, which can vary based on how densely the flour packs down. Weighing ingredients on a digital kitchen scale prevents the dough from becoming too dense or too runny.
Mixing and Forming the Dough Balls
Once the mixture comes together into a sticky batter, shape it into individual portions for baking. Typical practice suggests forming the dough into small balls around 3 to 5 centimeters in diameter so they bake evenly. Wetting your hands slightly with water or oil keeps the sticky dough from clinging to your fingers while you roll each piece.
Bake to Achieve the Perfect Texture
Place the shaped portions on a baking sheet and heat them until they expand and turn golden. Common guidance indicates that a standard pão de queijo roll has about 50 calories, making brazilian cheese bread a delightful treat that fits easily into meal planning. For home bakers preparing larger batches, unbaked cheese bread dough can be frozen directly in pans by adding a few extra minutes to the baking time, and baked or frozen portions can be reheated in a 350 degrees Fahrenheit oven for a few minutes. Keep the following baking guidelines in mind for the best results:
- Preheat your oven properly to ensure the hot air causes the moisture inside the starch to puff the rolls up quickly.
- Space the pieces evenly on a parchment lined baking sheet to allow room for expansion.
- Bake until the exteriors turn lightly golden and develop a satisfyingly crisp crust with a hollow sound.
- Monitor the oven closely near the end of the cooking time because starch based dough browns very fast.
- Cool the warm treats on a wire rack for a few minutes before serving them plain or with butter.
Troubleshooting Common Pão de Queijo Issues
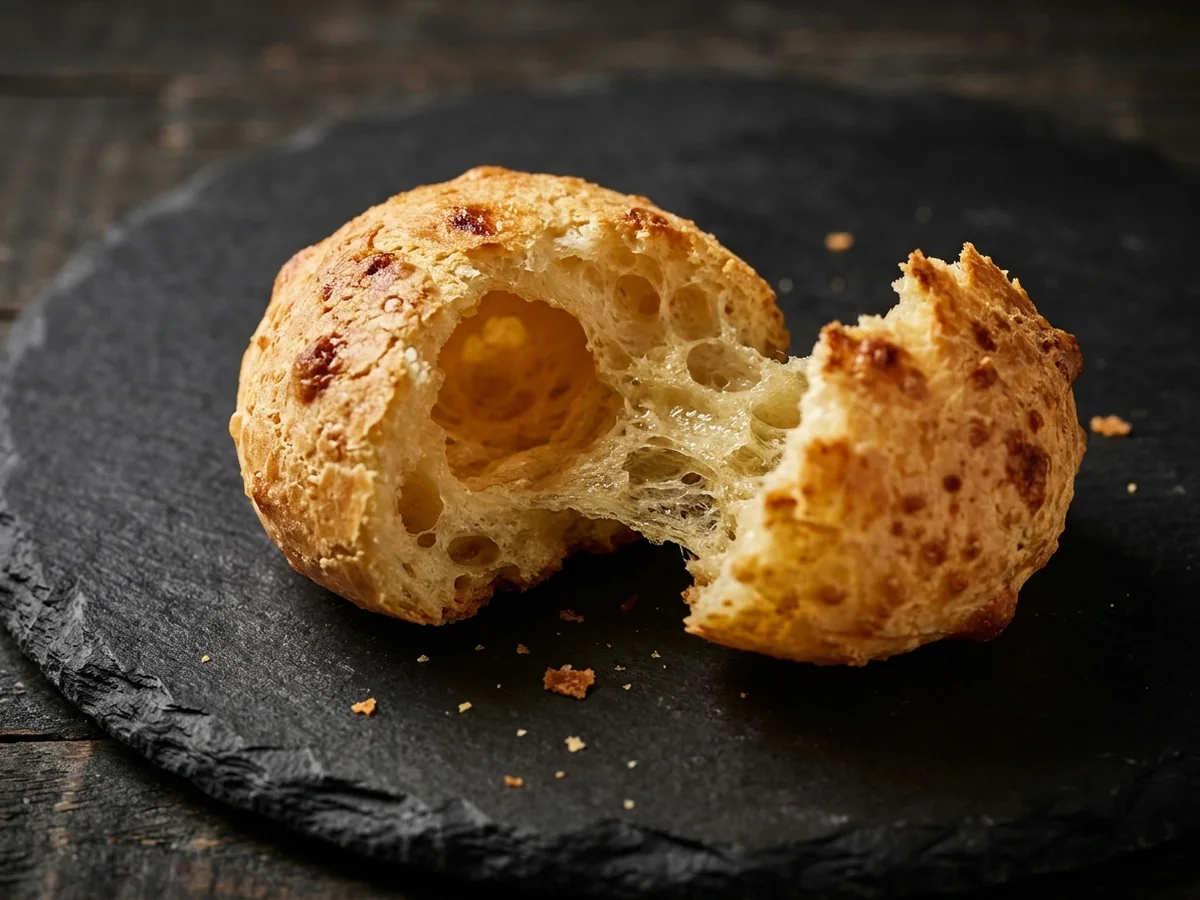
Making delicious brazilian cheese bread at home is rewarding, but minor measurement mistakes or temperature shifts can sometimes prevent your rolls from achieving their signature rise. Pão de queijo translates to cheese bread in Portuguese, and getting that iconic hollow center and crispy exterior depends entirely on balancing moisture and heat.
When your baked snacks turn out flat or overly dense, the culprit is usually incorrect liquid proportions or inadequate oven heat. If your dough is too runny before baking, the ratio of milk and oil likely outweighed the tapioca flour. You can fix a sticky or liquid batch by gently stirring in a small extra handful of starch until the mixture holds a thick, scoopable shape suitable for forming small rounds.
Common guidance suggests that pães de queijo are typically formed into small balls around 3 to 5 centimeters in diameter to ensure even baking. If these small portions fail to puff up in the oven, check your appliance temperature. An uncalibrated oven can prevent the rapid creation of steam needed to inflate the dough. Using an independent oven thermometer helps verify your actual baking heat.
Another frequent challenge involves freezing and reheating batches. Unbaked cheese bread dough can be frozen directly in pans by adding a few extra minutes to the baking time when you are ready to bake. If you are dealing with leftovers, baked and frozen pão de queijo can be successfully reheated in a 350 degrees Fahrenheit oven for a few minutes to restore their fresh texture without drying them out.
Regional Variations of Brazilian Cheese Bread

Comparing South American Relatives
Pão de queijo translates to cheese bread in Portuguese, serving as the definitive name for this beloved staple from Minas Gerais. Similar cheese and starch snacks appear widely across various South American countries, sharing roots in broader culinary traditions. Common regional alternatives include cuñapé, chipá, pandebono, pan de yuca, and pan de queso. Each version uses local cheeses and starches, resulting in a familiar chewy interior paired with a crisp outer crust. While the core concept of combining cheese with a stretchy starch base remains constant throughout the continent, individual regions alter the proportions and cheese types to suit local preference and agricultural availability.
When exploring these regional options, bakers often notice that the texture shifts depending on the specific starch used. For example, some areas rely on fermented starches that impart a distinct tang, while others use sweet starches for a more neutral flavor profile. Understanding these regional distinctions helps home cooks appreciate why traditional recipes can vary so widely from one household to another, even when using similar base ingredients.
International Adaptations and Rice Flour Variations
Japanese versions of these traditional rolls swap out cassava starch for rice flour while keeping a similar baking method. This adaptation creates a dense and elastic texture that often draws direct comparisons to traditional Japanese mochi. Both foods rely on gelatinized starches to achieve their signature chewiness without using wheat flour, demonstrating how the fundamental chemistry of starch baking transcends cultural borders.
Adapting the recipe with alternative starches requires careful attention to liquid absorption, as different flours behave uniquely during the scaling and mixing process. Home bakers attempting these variations should adjust their moisture levels gradually to prevent the dough from becoming too dense. By examining both the South American relatives and the international adaptations of this popular baked snack, cooks gain a broader understanding of how simple starches and dairy create universally beloved comfort foods.
Practical Freezing and Reheating Guidance
Managing portions and batch preparation is a common practice for home cooks making these snacks. Unbaked cheese bread dough can be frozen directly in pans by adding a few extra minutes to the baking time, allowing for fresh preparation on demand. When dealing with pre-made or leftover batches, baked and frozen pão de queijo can be reheated easily in a 350 degrees Fahrenheit oven for a few minutes to restore their original crust and interior chew.
Freezing, Storing, and Reheating Instructions
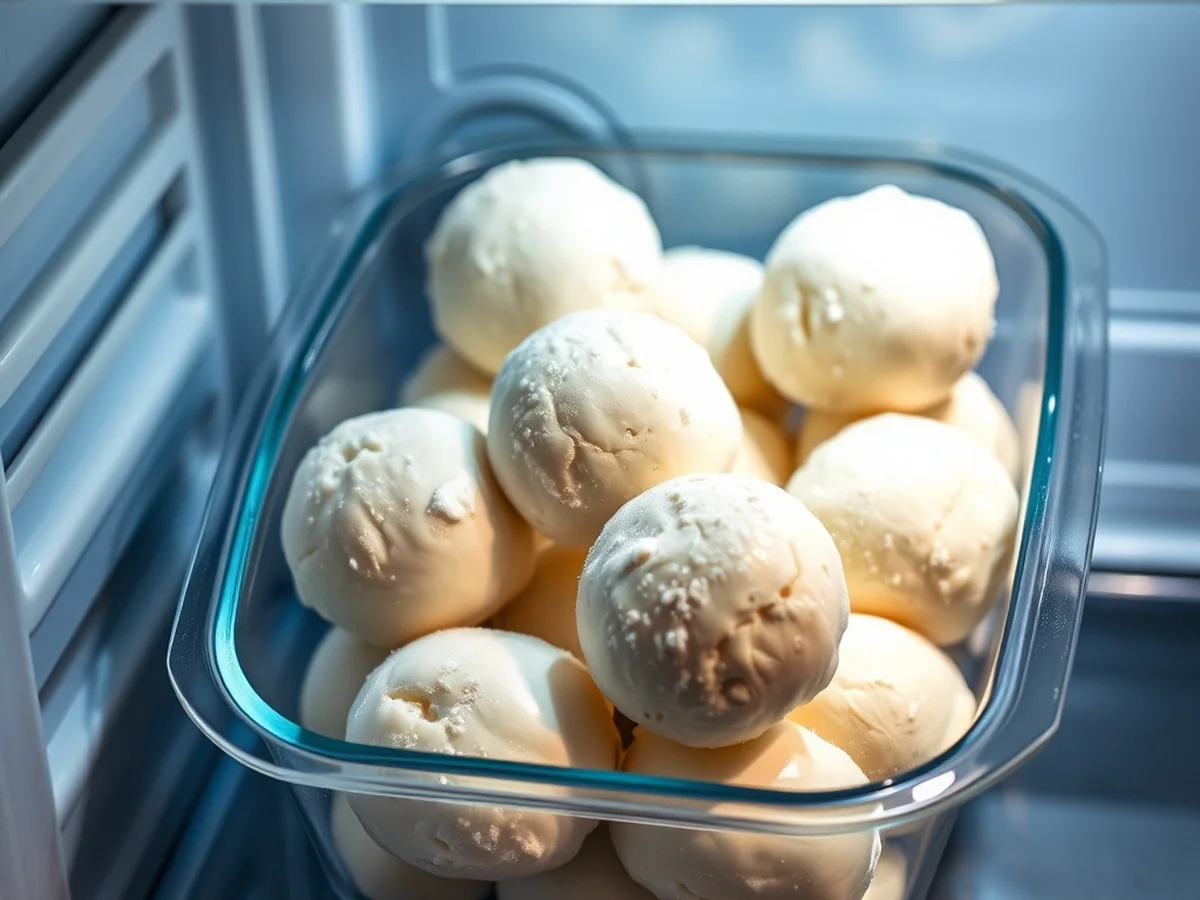
Preserving your homemade snacks for later is simple when you use the right methods for freezing unbaked dough and storing extra batches. Common guidance suggests that unbaked cheese bread dough can be frozen directly in pans by adding a few extra minutes to the baking time. This approach ensures you always have warm treats ready when cravings strike without needing to restart the mixing process from scratch.
To achieve the best results, proper preparation before freezing is essential. Common practices recommend shaping your portions into small balls before placing them on a baking sheet to freeze individually. Once solid, transfer the pieces into airtight containers or freezer bags. This extra step prevents the individual pieces from sticking together and protects the dough from freezer burn, which can dull the rich flavor of the cheese and starch over time.
When you are ready to enjoy your stored batches, the reheating process requires careful attention to restore the original texture. Baked and frozen pão de queijo can be reheated in a 350 degrees Fahrenheit oven for a few minutes. This quick warm-up method revives the exterior crispness and restores the soft, chewy inside just like freshly baked batches.
A common mistake during storage is leaving the baked treats exposed to air, which causes them to dry out rapidly. Always allow your snacks to cool completely on a wire rack before sealing them in an airtight container at room temperature if you plan to eat them within a day or two. For longer storage, stick to the freezer method. Avoiding temperature fluctuations by keeping your container near the back of the freezer rather than the door will maintain the best possible quality for your frozen brazilian cheese bread.
Frequently Asked Questions About Brazilian Cheese Bread
What is this snack called in its native language?
Pão de queijo translates to cheese bread in Portuguese. This traditional snack holds a special place in regional culinary culture.
What makes this cheesy baked snack naturally gluten-free?
Tapioca flour typically replaces wheat flour in these recipes, creating a naturally gluten-free treat. Because the dough relies on starches derived from cassava rather than wheat, it develops a unique texture featuring a crispy outer crust and a chewy, airy interior.
How can you prepare and store frozen Brazilian cheese bread?
Unbaked cheese bread dough can typically be frozen directly in pans by adding a few extra minutes to the baking time. For already baked and frozen rolls, you can reheat them in a 350 degrees Fahrenheit oven for a few minutes until warm.
Are there similar South American cheese pastry varieties?
Many neighboring countries feature comparable baked goods. Similar snacks in South America commonly include cuñapé, chipá, pandebono, pan de yuca, and pan de queso. Overseas adaptations exist as well, such as Japanese versions often made with rice flour instead of cassava starch and compared to mochi.
Conclusion
Making homemade pão de queijo is a deeply rewarding kitchen project that yields a uniquely chewy texture and savory flavor. Home bakers should feel encouraged to experiment with traditional ingredients and simple preparation methods to find their favorite batch. With a straightforward approach, mastering this classic snack brings a genuine taste of tradition right to your table.
Sources: u.osu.edu