How to Dredge and Bread Milanesa for Maximum Crunch
Introduction
You can master the technique of how to bread milanesa by establishing a consistent three stage breading method that ensures each cutlet is evenly coated. Learning how to bread milanesa effectively requires attention to the moisture levels of your protein and the firmness with which you press the crumbs into the surface.
This guide covers the essential steps for achieving a professional, crispy crust that stays intact during frying. We will explore the best breadcrumbs for milanesa, detail the proper sequence for the dredging station, and provide specific tips for crispy milanesa that avoid common pitfalls like soggy breading. Whether you are working with beef, chicken, or pork, these techniques will help you produce a uniform, golden-brown finish every time you cook.
Understanding Milanesa Breading

The primary goal when preparing this dish is to achieve a golden, shatteringly crisp crust that clings perfectly to the meat. Mastering this texture requires a deliberate approach to the layering process.
Consistency is key to success, and relying on the three stage breading method ensures every cutlet is coated evenly. This structured approach prevents common issues like uneven browning or loose coating. By following a disciplined sequence of flour, egg, and breadcrumbs, you create a reliable bond between the protein and the exterior layer.
- The flour stage provides a dry surface for the egg wash to grip.
- The egg stage acts as the necessary glue for the breadcrumbs.
- The final crumb stage creates the protective, crunchy exterior.
Preparing the Meat

Successful milanesa meat preparation starts with choosing a lean culinary protein that cooks quickly and holds its shape under high heat. Opt for thin cuts of beef or chicken breast that have minimal connective tissue, as these proteins offer the best texture for a crispy crust.
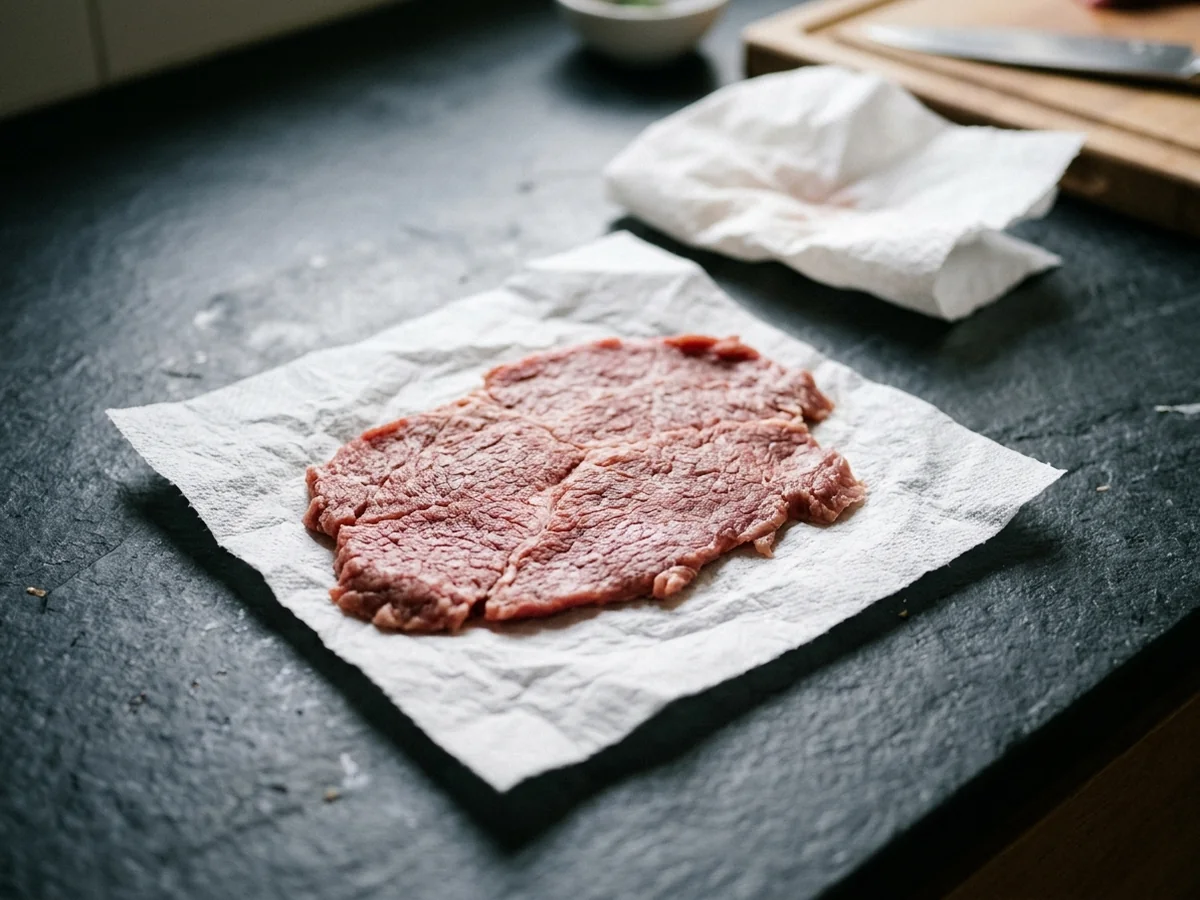
Uniform thickness is essential for consistent cooking. Use a meat mallet to gently pound the cutlets until they reach an even, thin profile across the entire surface. This step prevents uneven browning during the frying process.
Finally, pat the meat thoroughly dry with paper towels before beginning the coating sequence. Removing excess surface moisture is a critical step because it ensures the flour and egg wash adhere properly to the cutlet.
Three Stage Breading Method
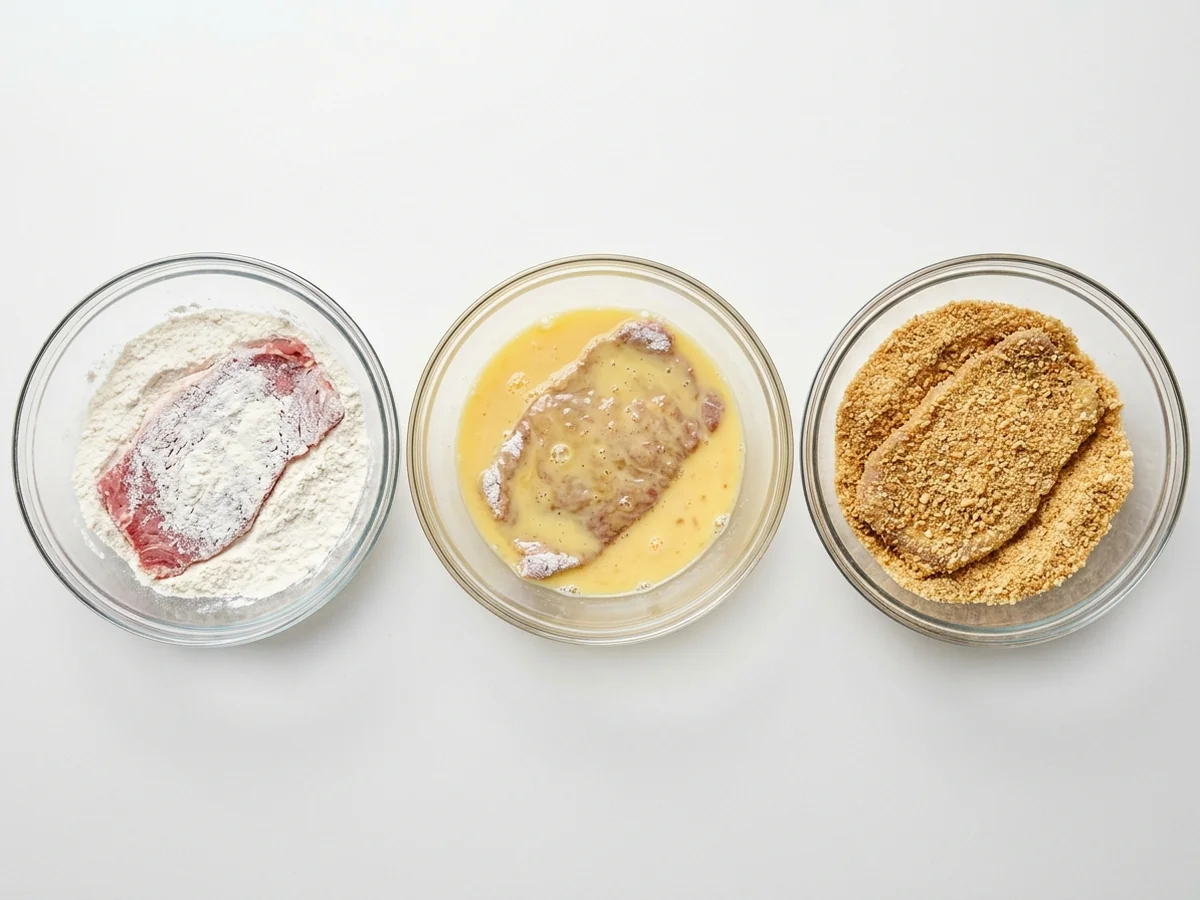
To achieve a durable, crisp coating, you must follow the three stage breading method in a specific sequence: flour, egg wash, and then breadcrumbs. This order is critical because each layer serves a distinct purpose in anchoring the crust to the protein. The flour absorbs surface moisture, the egg wash acts as a binding adhesive, and the final breadcrumb layer provides the structural foundation for a golden, crunchy exterior.
- Prepare three shallow, wide bowls to hold your all-purpose flour, beaten eggs, and chosen breadcrumbs.
- Ensure you have a pair of tongs or a fork to move the culinary protein between stations without creating a mess.
- Keep a clean, dry tray nearby to hold the coated cutlets before they head to the skillet.
Choosing Your Breadcrumbs

The texture of your crust depends heavily on the particle size of the coating you select. Larger, irregular flakes create more surface area for crisping, while finely ground crumbs produce a dense, uniform layer.
| Breadcrumb Type | Texture | Oil Absorption |
|---|---|---|
| Panko | Light and airy | Low |
| Fine crumbs | Dense and compact | High |
| Sourdough | Rough and rustic | Moderate |
When determining the best breadcrumbs for milanesa, consider your desired crunch level. Panko acts like a sponge for air, resulting in a shatteringly crisp exterior with minimal oil uptake. Conversely, fine crumbs pack closely together, creating a tighter seal that can absorb more fat during the frying process.
Achieving Perfect Adherence
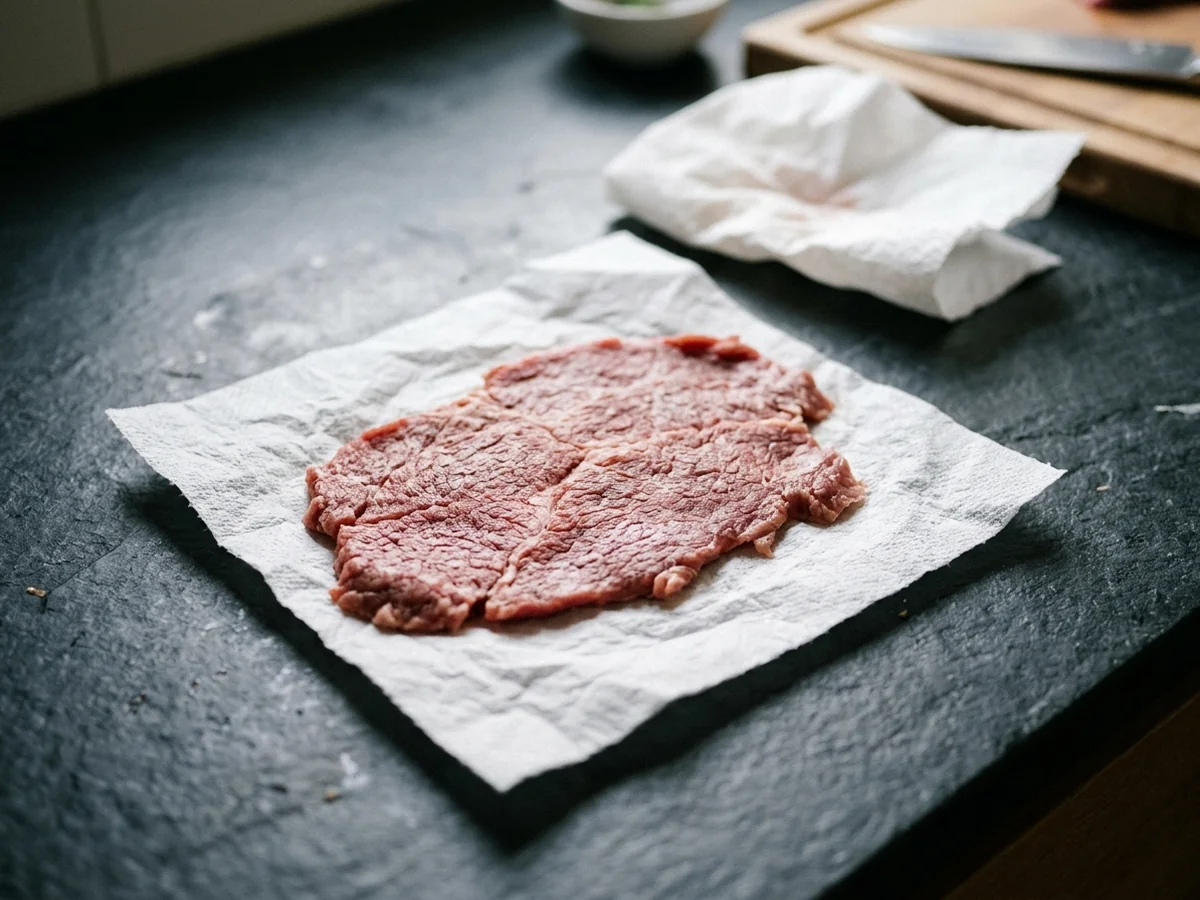
To ensure your coating stays put during frying, prioritize moisture management and allow the cutlets to rest. Removing excess surface water from the meat before you begin the standard process of coating in flour, egg, and breadcrumbs is critical, as surface moisture creates steam that forces the crust away from the protein.
After dredging, place the breaded cutlets in the refrigerator for a brief period before cooking. This resting phase allows the binding ingredients to hydrate and set properly, which is a highly effective way to prevent breading from falling off when they hit the hot oil.
- Pat the protein dry thoroughly with paper towels before starting the coating process.
- Ensure the egg wash is evenly distributed to create a uniform adhesive base.
- Press the breadcrumbs firmly to create a cohesive bond.
Mastering the Frying Process
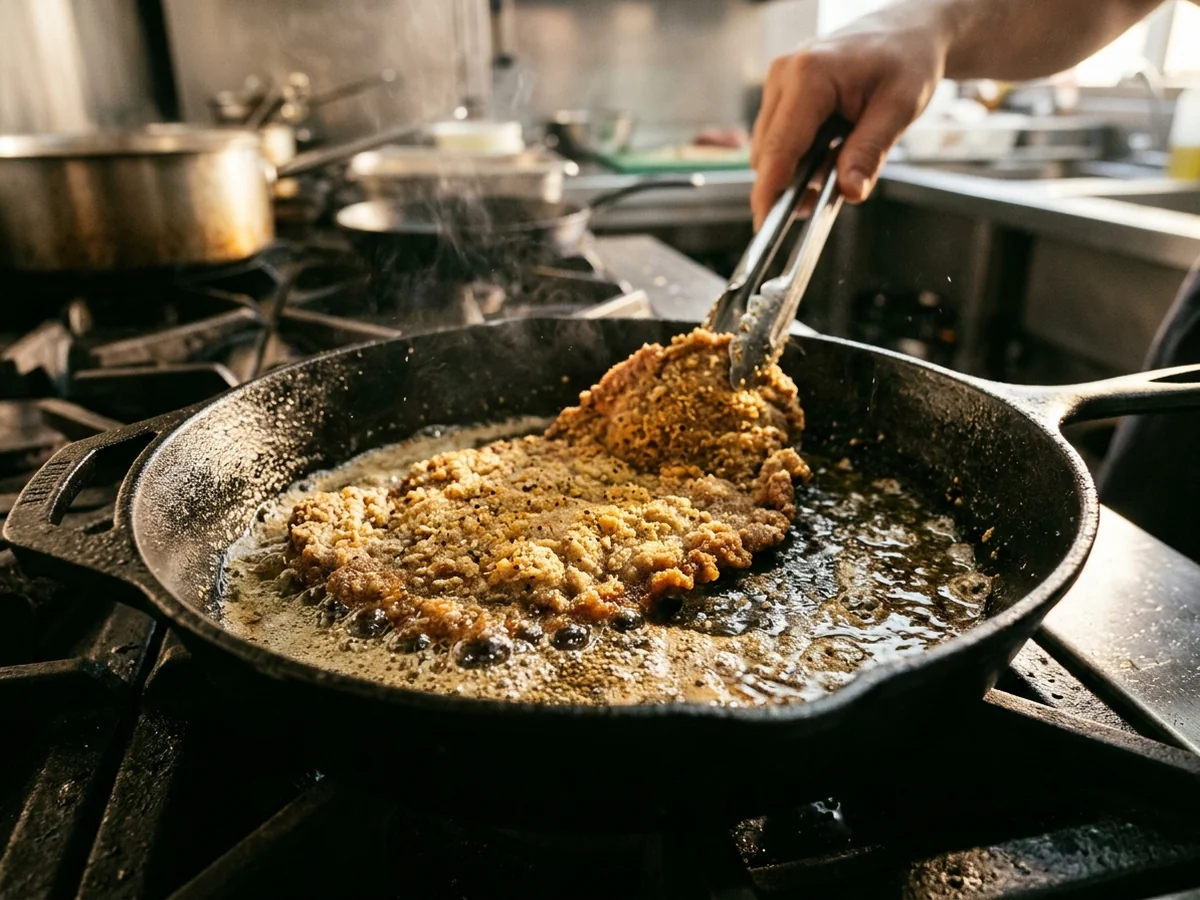
Achieving a golden, shatteringly crisp crust depends on maintaining consistent heat and selecting oils with high smoke points. Using an oil that can withstand high temperatures without burning ensures that the breading sets quickly and browns evenly before the interior dries out.
A cast iron skillet is the ideal tool for this task because it provides superior heat retention and distribution. This stability prevents the oil temperature from fluctuating when you add the cold cutlets, which is one of the most effective tips for crispy milanesa.
- Select refined oils like canola, grapeseed, or avocado, which tolerate high heat.
- Avoid overcrowding the pan to keep the temperature steady and prevent the breading from becoming greasy.
Common Breading Mistakes

Mastering a crispy crust requires careful attention to environmental and thermal factors during the cooking process. Avoiding these frequent errors helps ensure your cutlets remain light and crunchy rather than heavy or soggy.
- Overcrowding the skillet significantly drops the oil temperature, which prevents the crust from searing properly and leads to greasy results.
- Frying while the oil is not hot enough causes the breading to absorb excess fat before it can form a protective seal.
- High humidity levels in your kitchen can soften dry breadcrumbs, making it harder for the coating to adhere to the protein.
- Excess moisture on the surface of the meat before dredging creates a barrier that causes the breading to slide off during cooking.
Tips for Extra Crispy Milanesa

You can achieve a superior crust by building flavor early and using advanced coating techniques. Start by seasoning your flour, as this creates the foundation for the entire flavor profile. Adding salt, pepper, or dried herbs directly into the flour ensures every bite is well-seasoned.
For a thicker, more substantial crunch, try double-breading your cutlets. Dip the meat in the egg wash and breadcrumbs a second time to build a robust exterior that holds up well during frying. If you prefer convenience, you can batch-bread your cutlets in advance. Place them between sheets of parchment paper and store them in the freezer, allowing you to fry them directly from frozen whenever you need a quick meal.
FAQ
How do I keep the breading from falling off?
Ensuring the meat surface is completely dry before beginning the process of dredging in flour, egg, and crumbs is the most effective way to prevent the coating from separating. You should also press the breadcrumbs firmly into the surface of the cutlet to create a tight bond, then allow the breaded meat to rest in the refrigerator before frying.
Which cut of meat is best for milanesa?
Lean, tender cuts of meat work best because they cook quickly without requiring long heat exposure that could burn the crust. Common choices include round steak or sirloin, though chicken breast is also frequently used for this preparation.
Should I fry or bake the milanesa?
Frying in a shallow layer of oil is the traditional method to achieve a golden, crispy exterior that characterizes a proper milanesa. While baking is a lower-fat alternative, it rarely produces the same level of crunch and even browning provided by the skillet.
What is the correct order for the breading station?
The standard process follows a specific sequence of flour, followed by a beaten egg mixture, and finishing with breadcrumbs. Each stage serves a purpose: the flour creates a dry surface for the egg to adhere to, and the egg acts as the glue for the final breadcrumb layer.
Can I prepare milanesa in advance?
You can bread the cutlets ahead of time and keep them refrigerated until you are ready to cook. If you need to store them for longer, they can be frozen between sheets of parchment paper, though it is best to cook them directly from a chilled state rather than thawing them completely.
Conclusion
The final decision point in your process is determining whether to fry the cutlets immediately or allow them to rest. Resting the prepared meat in the refrigerator helps the coating set firmly, which is a key step to prevent the breading from falling off during cooking. Mastering how to bread milanesa requires patience, so choose the method that best fits your timing while keeping an eye on your oil temperature for the perfect golden crunch.
You might also like: Crispy Milanesa Recipe (Traditional Beef & Chicken Cutlets)