Easy Sandwich Bread Recipe for Beginners (Soft & Fluffy)
Introduction
You can bake a perfect loaf at home by following this easy sandwich bread for beginners. This straightforward approach provides a reliable method to create soft, consistent results without requiring advanced culinary skills.
This article covers the essential ingredients and step-by-step techniques needed to master your first loaf. You will learn how to handle dough with confidence, understand the role of yeast, and achieve the ideal texture for your sandwiches. By focusing on fundamental skills like kneading and proofing, we break down the baking process into manageable actions. Whether you are using instant yeast or active dry yeast, these instructions help you navigate common pitfalls to ensure your bread rises well and bakes evenly. We also provide guidance on timing and temperature to take the guesswork out of your baking journey.
Simple Ingredients for Beginners
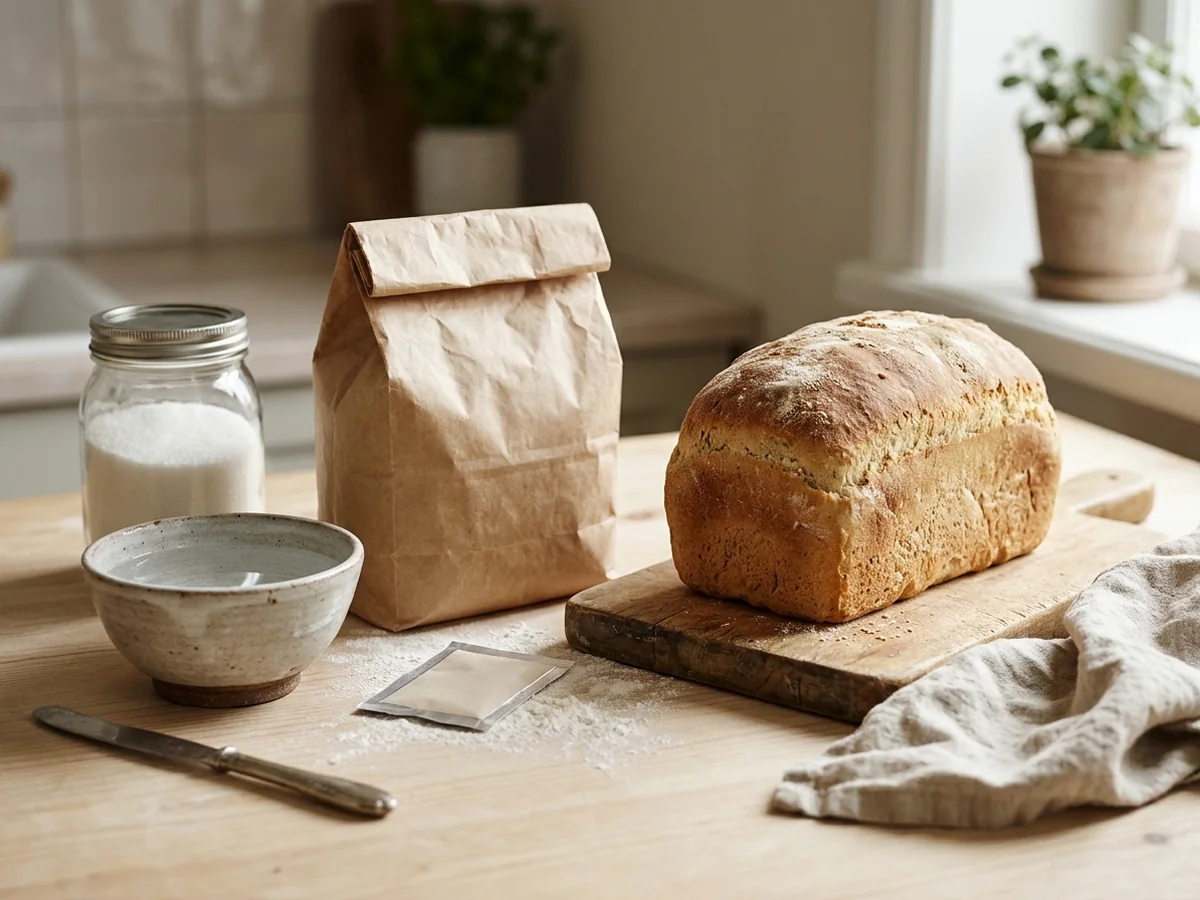
Baking homemade bread requires only a handful of pantry staples, making it an accessible project for anyone new to the kitchen. You can achieve a professional result with nothing more than flour, yeast, liquid, and a touch of sweetener.
Using high-quality ingredients ensures consistent success with your easy sandwich bread for beginners:
- Instant yeast simplifies the process because it does not require proofing in water before being added to flour.
- Adding sugar or honey feeds the yeast and promotes browning of the crust.
- Common guidance suggests using milk or butter in the dough for a softer, more tender crumb.
- While bread flour typically creates a stronger gluten network, all-purpose flour works well for a lighter texture.
Essential Ingredients Explained

Understanding your pantry staples is the first step toward baking a successful loaf. Use these guidelines to select the right components for your easy sandwich bread recipe with yeast.
- Instant yeast does not require proofing in water before being added to flour, while active dry yeast typically needs to be dissolved in warm water between 105 and 115 degrees Fahrenheit to activate.
- Bread flour contains higher protein levels that create a stronger gluten network for a stable structure.
- All-purpose flour works well for a softer and more tender crumb.
- Adding sugar or honey feeds the yeast and promotes browning of the crust.
Mastering the Kneading Process

Kneading is essential for gluten development, which creates the structure needed to trap gas and produce a soft sandwich bread loaf. By working the dough, you align protein strands into a stretchy, elastic network.
You can check if your dough is ready using the windowpane test. Gently stretch a small piece of the dough between your fingers. If it becomes thin enough to let light pass through without tearing, the gluten is well-developed. If it breaks immediately, continue kneading for a few more minutes.
Be careful not to overwork the dough. Common guidance suggests that over-kneading can lead to a tough loaf, whereas sufficient kneading ensures the right texture for your homemade bread.
The Proofing Stage
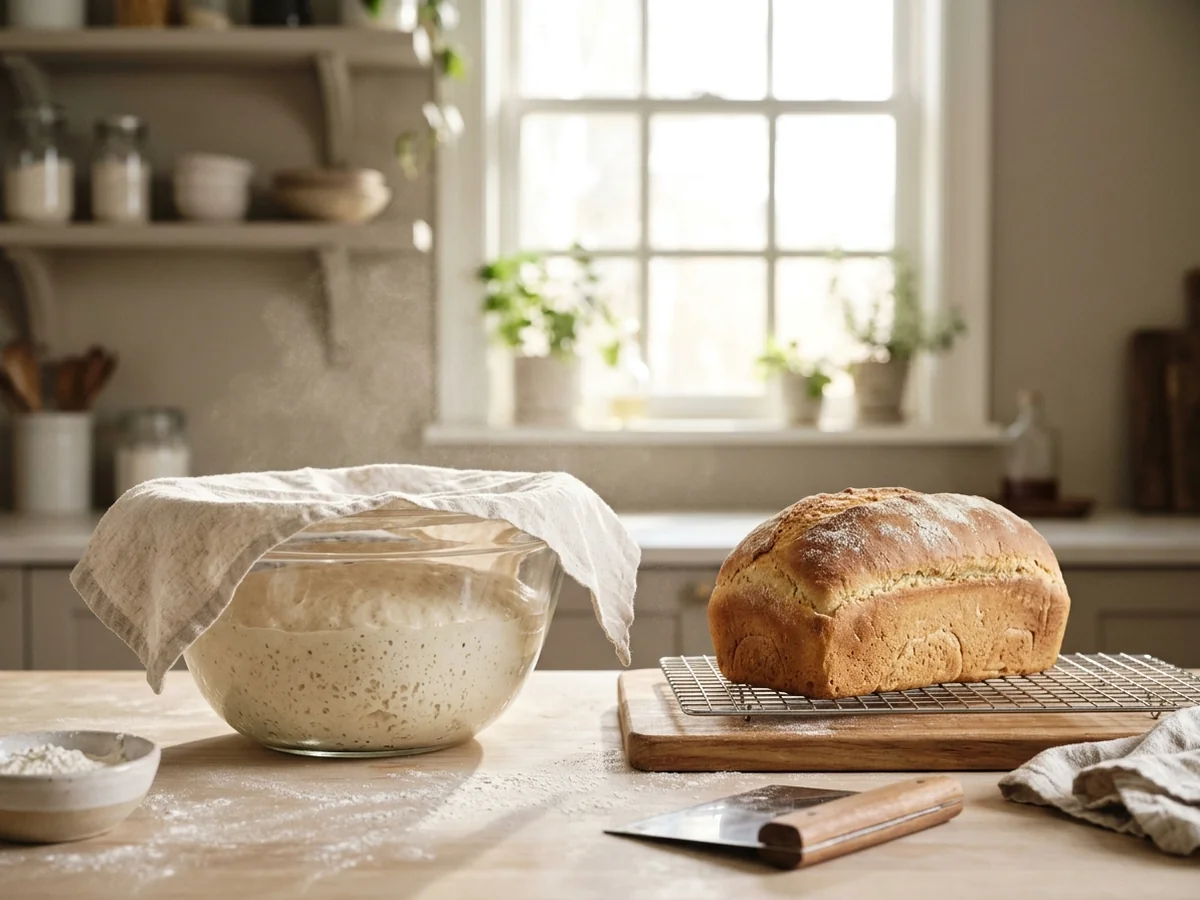
Bread dough is typically proofed until it has doubled in size. This primary rise is essential for building the air pockets that create a light, soft texture in your finished loaf.
Rising times fluctuate significantly based on your environment. In a warm, humid kitchen, yeast activity accelerates and your dough may double quickly. Conversely, a cool or dry room slows the fermentation process, often requiring extra time for the dough to expand fully.
Monitoring your dough is key, as over-proofing can ruin the structure. Watch for these signs of an over-proofed loaf:
- The dough surface looks bubbly or deflated.
- The dough collapses when gently poked.
- The baked bread turns out dense or has a sunken top.
How to Bake Bread
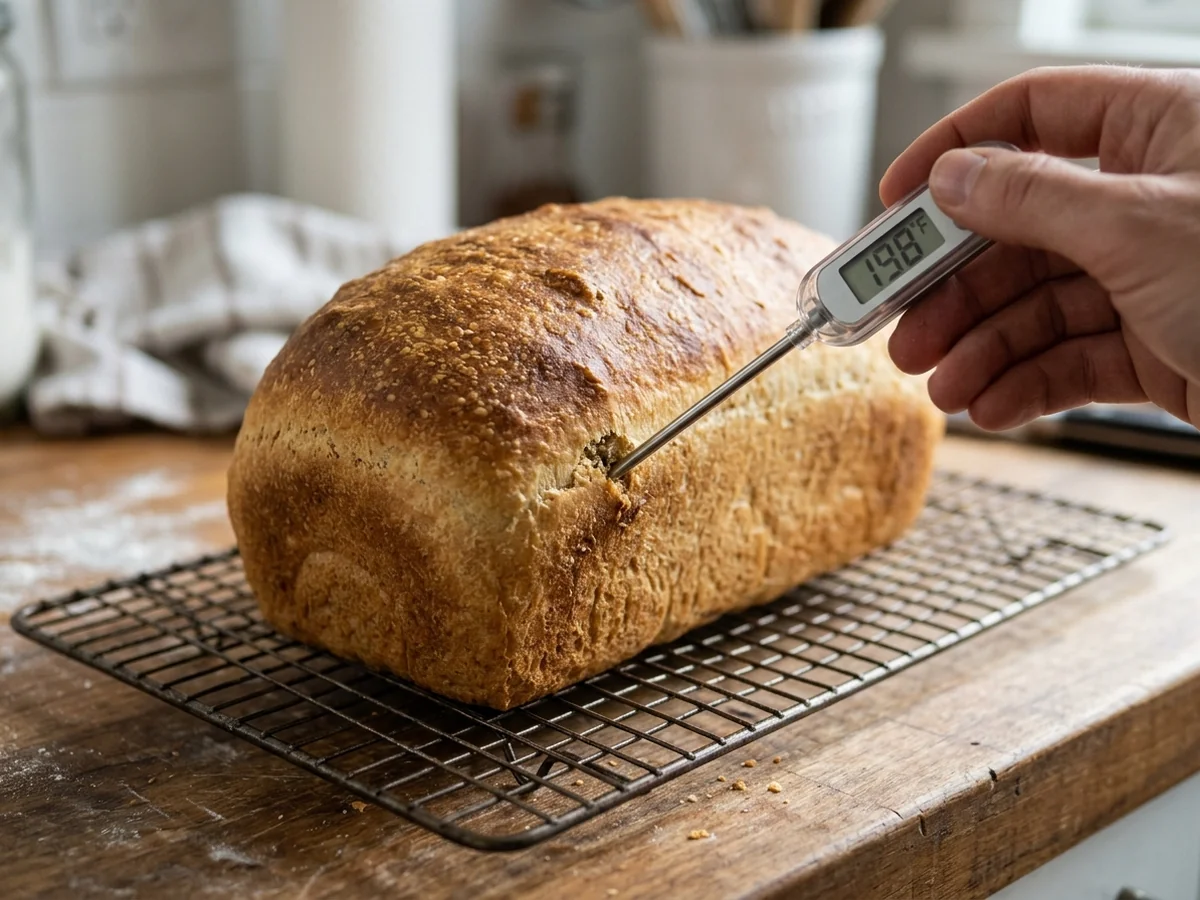
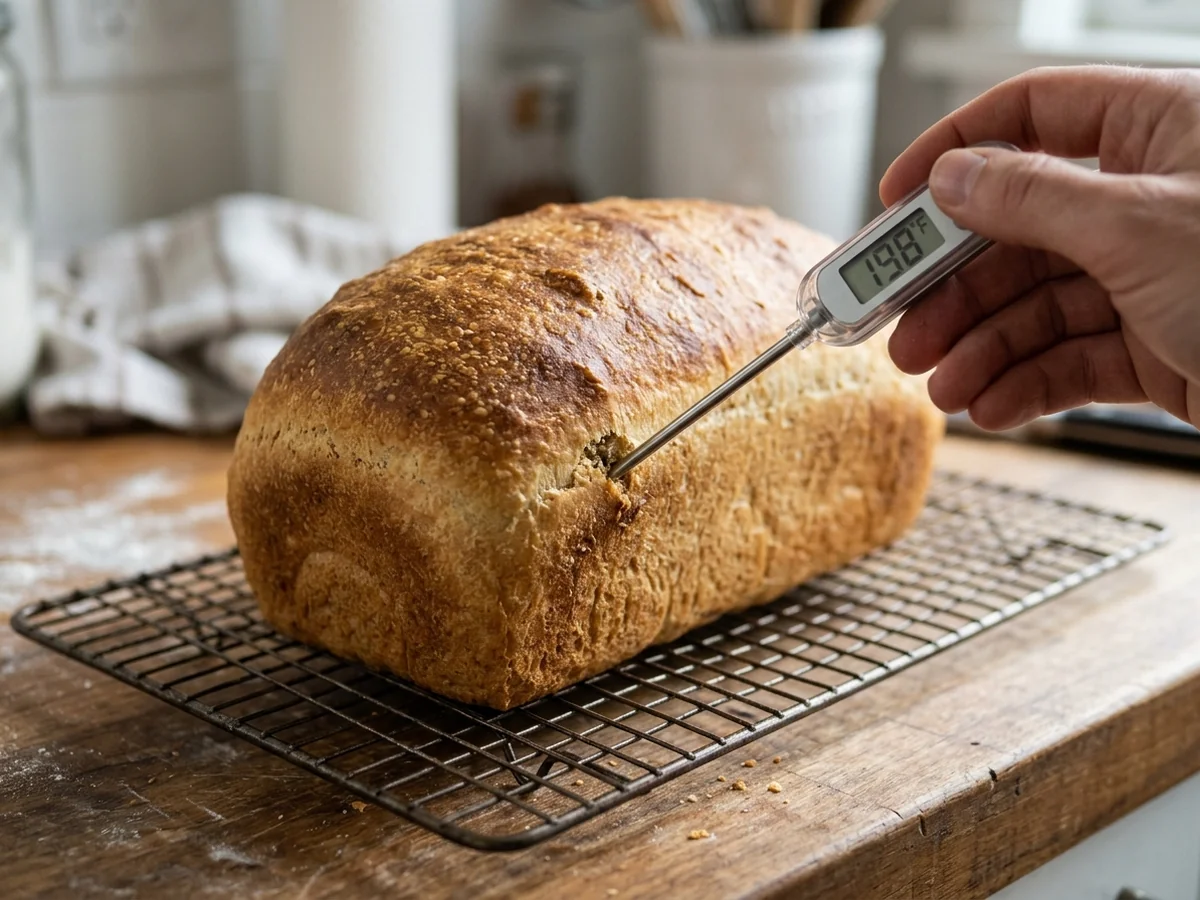
To ensure your simple homemade bread for beginners is fully cooked, check that the internal temperature reaches between 190 and 210 degrees Fahrenheit. Using an internal temperature thermometer is much more reliable than relying on visual cues like crust color, as the exterior may brown before the center is finished.
| Metric | Standard |
|---|---|
| Target Temperature | 190 to 210 degrees F |
| Best Measurement Method | Digital thermometer |
| Cooling Requirement | Complete cooling |
Always allow your loaf to cool completely on a wire rack before slicing. Cutting into hot bread lets steam escape too quickly, which leads to a gummy or doughy texture instead of a light crumb.
Troubleshooting Common Mistakes
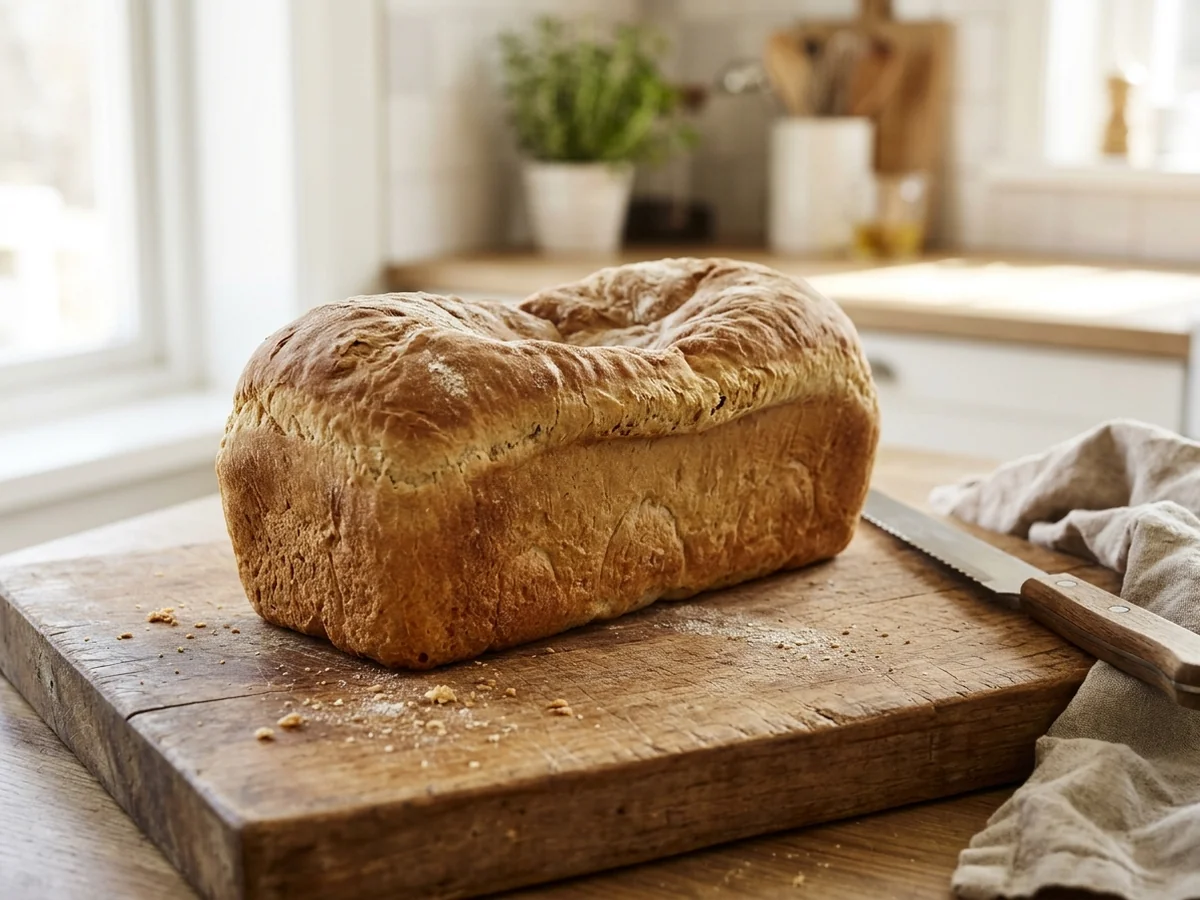
You can achieve a professional result with your homemade loaf by adjusting a few key techniques during preparation and baking. If you encounter issues like a sunken top or a heavy interior, use these adjustments to improve your outcome.
- Avoid loaf collapse by ensuring you do not over-proof the dough, as common guidance suggests doubling in size is usually sufficient.
- Prevent a dense or heavy crumb by kneading the dough properly, since common guidance indicates under-kneading often stops gluten development.
- Ensure your bread is fully baked by checking for an internal temperature between 190 and 210 degrees Fahrenheit.
- Reduce the amount of yeast or sugar slightly if you live at high altitudes to prevent the dough from rising too rapidly.
Ingredient Substitution Guide
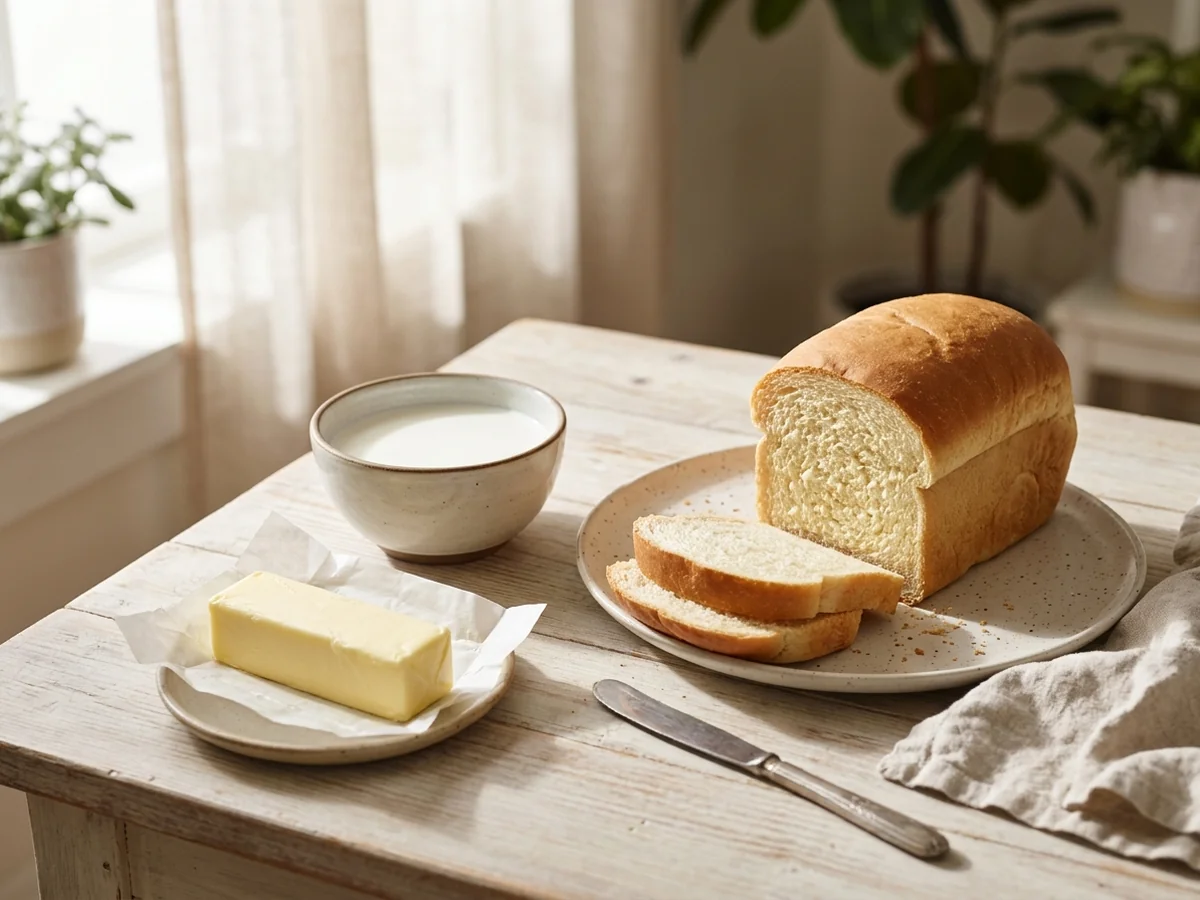
You can achieve a softer, more tender crumb for your quick sandwich bread recipe by incorporating milk or butter into the dough. These ingredients enrich the texture by interfering with gluten strands, which makes the final loaf less chewy.
| Ingredient | Common Function |
|---|---|
| Milk | Softens crumb and adds moisture |
| Butter | Increases tenderness and richness |
| Water | Provides structure and hydration |
| Plant-based milk | Dairy-free softening alternative |
If you prefer a dairy-free loaf, substitute milk with soy or almond milk, and replace butter with olive oil. When swapping flour types, note that bread flour absorbs more water than all-purpose flour. You may need to increase your liquid slightly to maintain the correct dough consistency.
Storage and Preservation

Keep your homemade loaf fresh at room temperature by storing it in a breathable paper bag or a loosely closed plastic container for up to three days. Plastic traps moisture, which can cause the crust to become soft or encourage mold growth in humid environments.
For longer periods, freezing is the best approach. Slice the loaf completely before freezing, placing a small piece of parchment paper between each slice to prevent them from sticking together. This allows you to pull out only what you need. You can refresh individual slices by placing them directly in a toaster or a preheated oven until warm and crisp. This simple method restores the texture of your no mixer sandwich bread.
FAQ
What is the easiest bread to make for a beginner?
A standard loaf of sandwich bread is generally considered the easiest bread to make for a beginner because it uses basic pantry staples and a forgiving, straightforward kneading process. This type of bread provides a clear baseline for understanding how dough behaves during rising and baking.
Do I need a stand mixer to make easy sandwich bread for beginners?
You do not need a stand mixer to create a successful, soft sandwich bread loaf. Kneading the dough by hand is a traditional method that allows you to feel the texture of the gluten development, which can actually help you learn how to identify when the dough is ready for the first rise.
Can I use instant yeast instead of active dry yeast?
You can use instant yeast in place of active dry yeast, but keep in mind that instant yeast does not require proofing in water before being added to flour. If you choose to use active dry yeast, common guidance suggests dissolving it in warm water between 105 and 115 degrees Fahrenheit to ensure it activates properly.
How do I know if my bread is finished baking?
The most reliable way to check for doneness is to use an internal temperature thermometer, as common practice suggests the ideal internal temperature for a fully baked loaf is between 190 and 210 degrees Fahrenheit. You should also ensure the loaf is completely cool before slicing, as cutting into hot bread can result in a gummy texture.
Why does my homemade bread have a tough crust?
A tough crust often occurs if the bread is baked for too long or if the oven temperature was too high. To achieve a soft crust, common guidance suggests incorporating milk or butter into your dough, as these fats contribute to a more tender crumb.
Conclusion
The best way to master this simple homemade bread for beginners is to gather your ingredients and prepare your first batch. Focus on using an internal temperature thermometer to check for that range between 190 and 210 degrees Fahrenheit, as this is standard practice to ensure your loaf is perfectly baked. Once you remove the bread from the oven, allow it to cool completely on a wire rack to avoid a gummy texture. By following these techniques, you are ready to enjoy the process of baking your own soft sandwich bread loaf at home.
Sources: k-state.edu, extension-store.montana.edu