Easy Challah Bread Recipe for Morning Bakes & French Toast
Introduction to Simple Braided Baking
Baking easy challah bread at home does not require professional pastry skills or complicated equipment. Challah is traditionally an egg-enriched bread that relies on basic pantry staples like flour, eggs, yeast, and oil to create a rich texture and golden crust.
This guide breaks down the process into clear, manageable steps suitable for any home kitchen. Readers will find straightforward mixing instructions, simple shaping techniques, and practical tips to achieve a successful loaf on the first try.
What Is Challah Bread
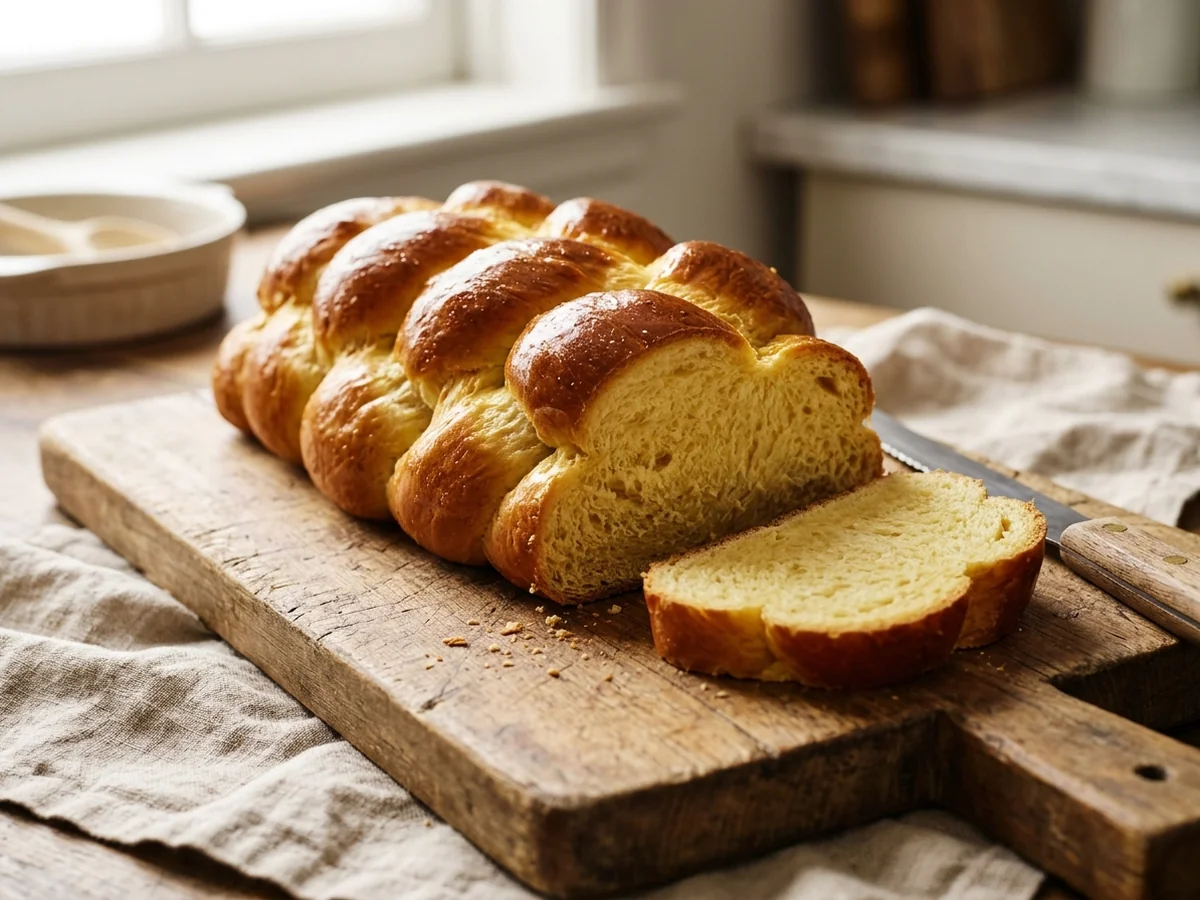
Challah is traditionally an egg-enriched bread that holds a special place in many cultural and festive meals. This rich loaf features a distinct golden crumb and a soft texture that sets it apart from standard sandwich loaves. When looking at how to make easy challah bread at home, understanding the core ingredients helps home cooks achieve consistent results every single time.
The dough relies heavily on eggs, flour, water, yeast, and oil or sugar to create its signature texture. Bakers typically shape the dough into striking braided loaves before baking them to a deep golden brown. The foundation starts with proper yeast activation for bread. According to guidelines from Iowa State University Extension and Outreach, active dry yeast requires warm water at approximately 100 degrees F to activate properly. Typically, one standard package of active dry yeast contains 0.25 ounces, which is the standard amount needed for a typical home baking batch.
People often wonder about the challah vs brioche difference since both styles use plenty of eggs. While brioche relies on a high butter content for its tender and cake-like crumb, traditional challah avoids dairy to comply with dietary laws during meat meals. That means challah uses vegetable oil instead of butter in the dough, resulting in a lighter and distinct texture.
Understanding crust variations adds another layer of control for home bakers. While a standard egg wash creates a shiny, deep mahogany finish, research from Oregon State University shows that brushing the top with melted butter instead of beaten egg results in a softer crust. Knowing how to test for doneness prevents underbaking. According to research from University of Illinois Extension, a loaf is finished baking when it sounds hollow upon being tapped. While standard baking temperatures for challah typically hover around 350 degrees F (175 degrees C) and baking times typically range from 30 to 35 minutes, listening for that hollow sound is the most reliable indicator that the bread is ready to cool.
Selecting the Right Flour for Your Loaf
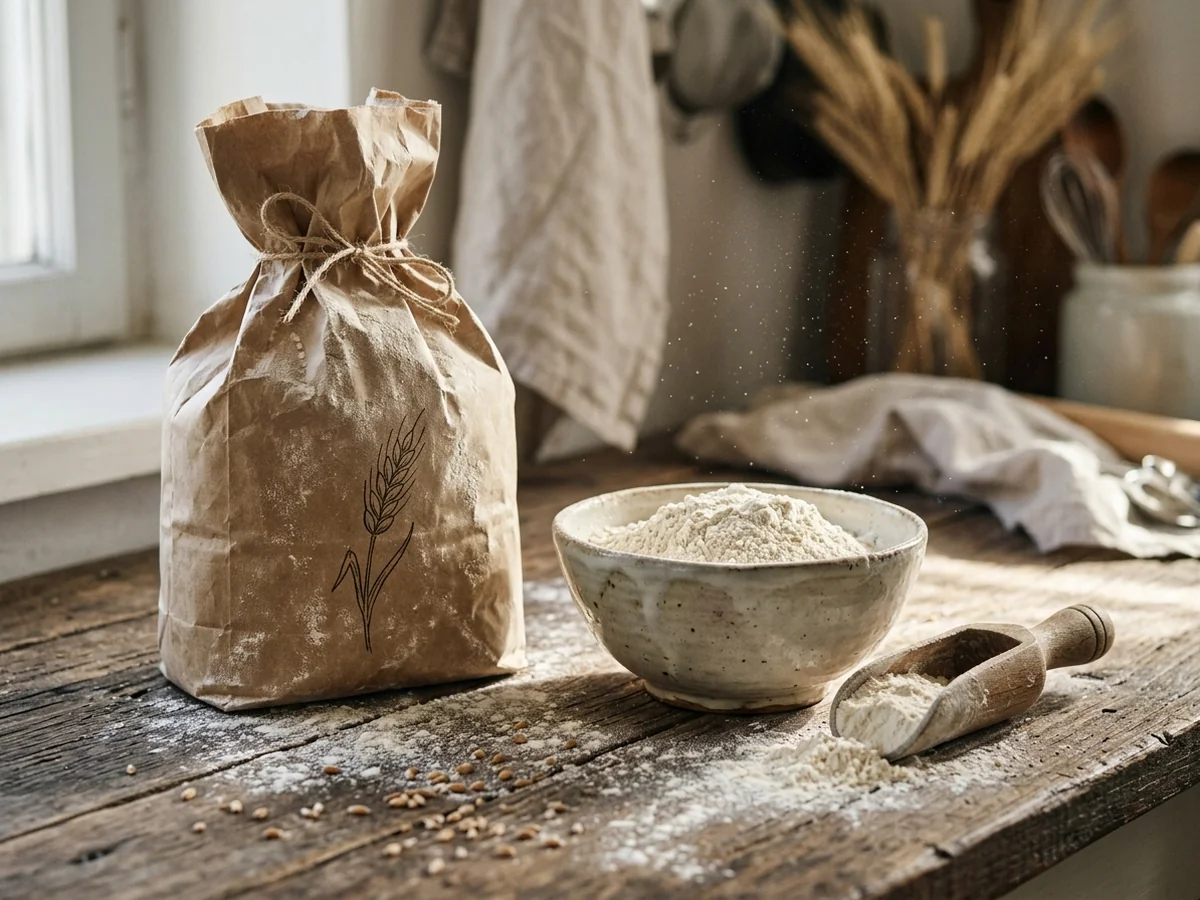
Choosing between all-purpose flour and bread flour depends on the texture you want for your loaf, though both can produce great results when you are making easy challah bread. Bread flour contains a higher protein content, which develops more gluten during kneading. This extra protein creates a chewy crumb and a sturdy structure that holds high-definition braids well. Because challah is traditionally an egg-enriched bread, managing your dough structure helps ensure the loaf maintains its shape during baking.
Using All-Purpose Flour for Tenderness
All-purpose flour works wonderfully for an accessible, everyday loaf because it keeps the crumb tender and light. Home bakers often choose it because it is already stocked in most pantries, making the recipe much more approachable. It creates a softer bite that works exceptionally well when you slice the loaf for morning toast or soak it for French toast. The lower protein level in standard pantry flour also prevents the dough from becoming too tough or rubbery if you happen to mix it a bit too long. Beginners find this forgiving nature helpful when learning how to handle enriched doughs, and you still get a golden, beautiful crust without needing specialty ingredients.
Comparing Protein Levels for Your Desired Texture
Finding the best flour for challah simply comes down to personal preference for crumb density and chewiness. If you want a melt-in-your-mouth tenderness, standard kitchen flour gets the job done easily. If you prefer a bakery style chew, high protein flour is a solid alternative. When preparing your ingredients, remember that active dry yeast requires warm water at approximately 100 degrees F to activate properly, regardless of which flour you select. Once your dough is mixed, kneaded, and shaped using your preferred braiding techniques, typical baking guidance suggests a temperature of 350 degrees F with a baking time ranging from 30 to 35 minutes.
Mastering Yeast Activation for Success
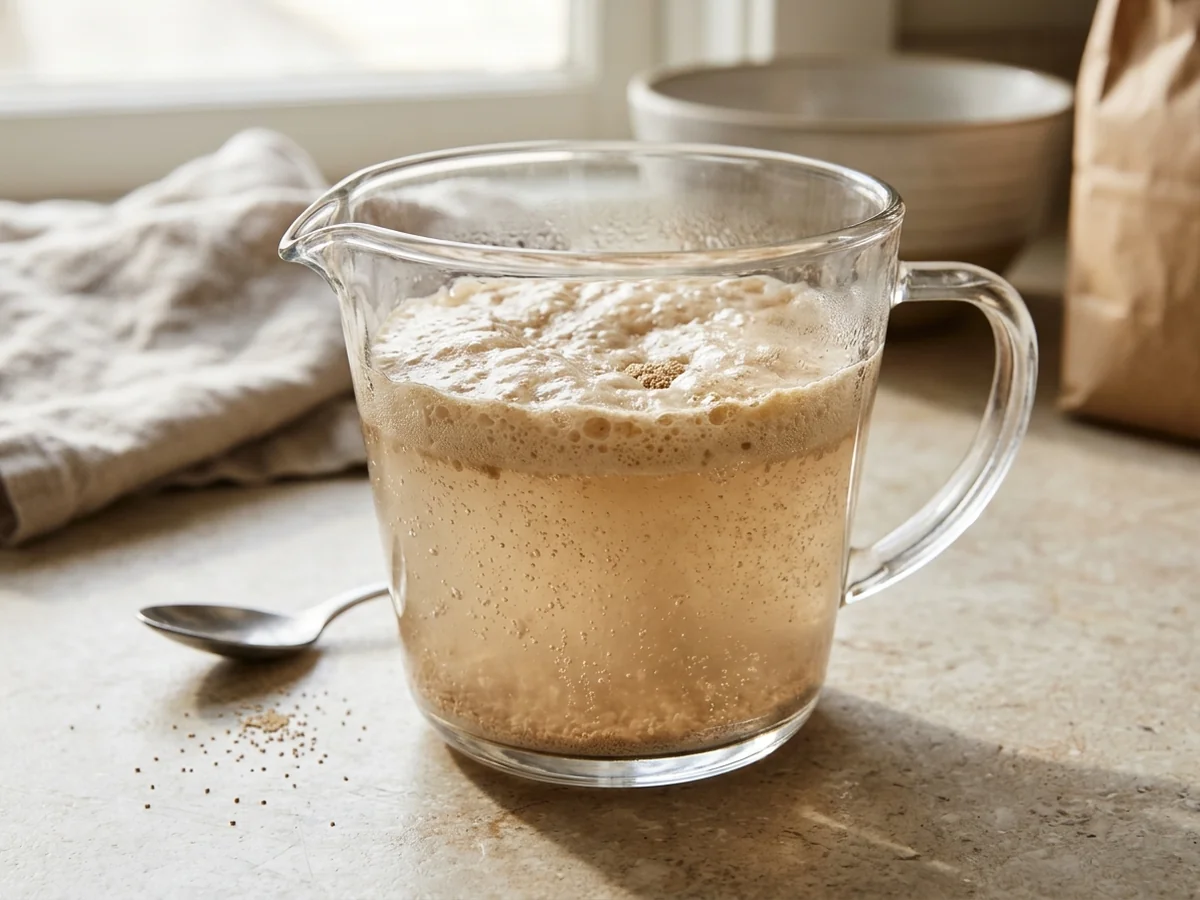
Active dry yeast requires warm water (approximately 100 degrees F) to activate properly. This specific temperature wakes up the dormant organisms so they can produce the gases needed for your loaf to rise. When you are preparing easy challah bread, getting this initial stage right sets the foundation for a successful bake and prevents dense, heavy results.
One standard package of active dry yeast typically contains 0.25 ounces. Keeping this measurement in mind helps you portion your ingredients accurately before you start mixing your all-purpose flour, eggs, and sweeteners. Because challah is traditionally an egg-enriched bread, managing your initial liquid temperature carefully ensures the rich dough expands properly during proofing.
Why Water Temperature Matters for the Baking Process
Water temperature is the most critical factor during yeast activation for bread, and guessing often leads to trouble. If the liquid is too hot, it will kill the living organisms instantly. If the liquid is too cold, nothing will happen at all, leaving your dough completely flat during proofing.
Always check your water with a baking thermometer if you want to remove the guesswork entirely. Taking a few seconds to verify the temperature ensures your sweet braided loaf turns out light and fluffy every single time.
Avoiding Common Mistakes with Faucet Checks
A common mistake is trusting the faucet by hand feel, which can easily be too hot or too chilly for the delicate organisms. Using a reliable thermometer protects your ingredients and ensures the yeast releases enough gas to create that signature airy texture characteristic of traditional egg-enriched bread.
After your yeast mixture begins to foam, you can combine it smoothly with your all-purpose flour and other pantry staples. Paying attention to this small thermal detail eliminates frustration later in the recipe and keeps your baking project on track.
Essential Steps for Kneading and Proofing
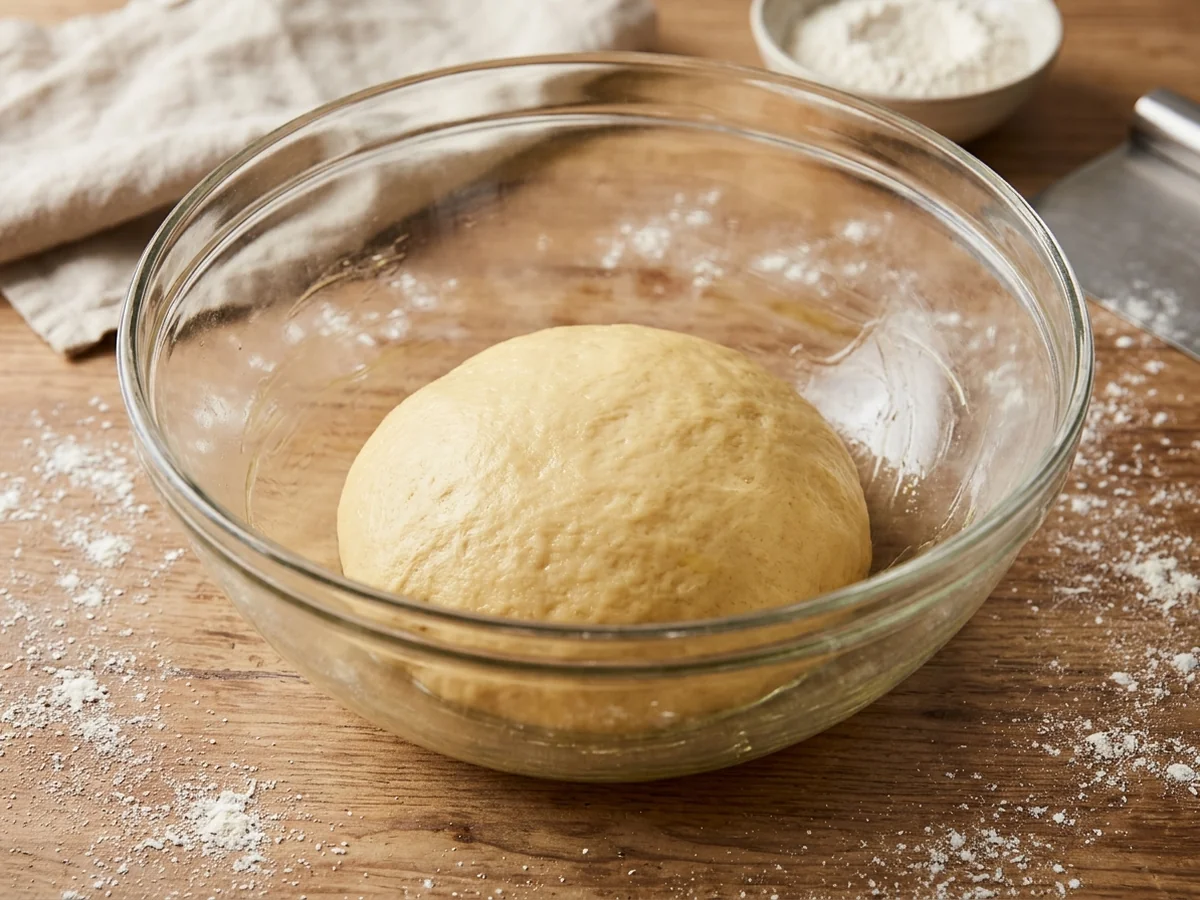
Making a successful loaf of easy challah bread relies heavily on proper yeast activation, thorough kneading, and patient proofing. Challah is traditionally an egg-enriched bread, meaning the dough requires careful handling to develop the right texture. Before you begin mixing your ingredients, remember that active dry yeast requires warm water, approximately 100 degrees Fahrenheit, to activate properly according to guidelines from Iowa State University Extension and Outreach. Using water at the correct temperature ensures your yeast wakes up and produces enough gas to make the dough rise effectively.
Yeast Activation and Mixing
Getting the yeast started correctly sets the foundation for your whole recipe. One standard package of active dry yeast typically contains 0.25 ounces. When combining it with your warm water, let it sit for a few minutes until a frothy layer forms on top. This confirms the yeast is alive and ready to leaven your all-purpose flour or bread flour. If the water is too hot, it can kill the yeast, and if it is too cold, the yeast will remain dormant.
Kneading for Structure
Once your ingredients are combined, the kneading process builds the strong gluten network needed for a tall, structured loaf. Work the dough until it feels smooth and elastic, which typically takes about ten minutes of steady folding and pushing. A common mistake during this stage is adding too much extra flour if the dough feels slightly sticky, which can result in a dense and heavy crumb rather than a light, airy texture. Trust the kneading process to naturally reduce stickiness as the gluten strands develop and trap air.
Managing the Proofing Stages
Managing the proofing stages requires placing your dough in a warm, draft-free spot so fermentation can occur. Let the dough double in size during the initial rise, gently punch it down to release excess gas, and then allow a second shorter rise after shaping your dough into braids. Keep a close eye on the dough during proofing rather than relying solely on the clock, because kitchen temperatures vary and can speed up or slow down your rise time. Once your loaf is fully shaped and proofed, brushing the top with melted butter instead of beaten egg results in a softer crust if you prefer a less shiny finish.
Simple Techniques for Braiding Dough
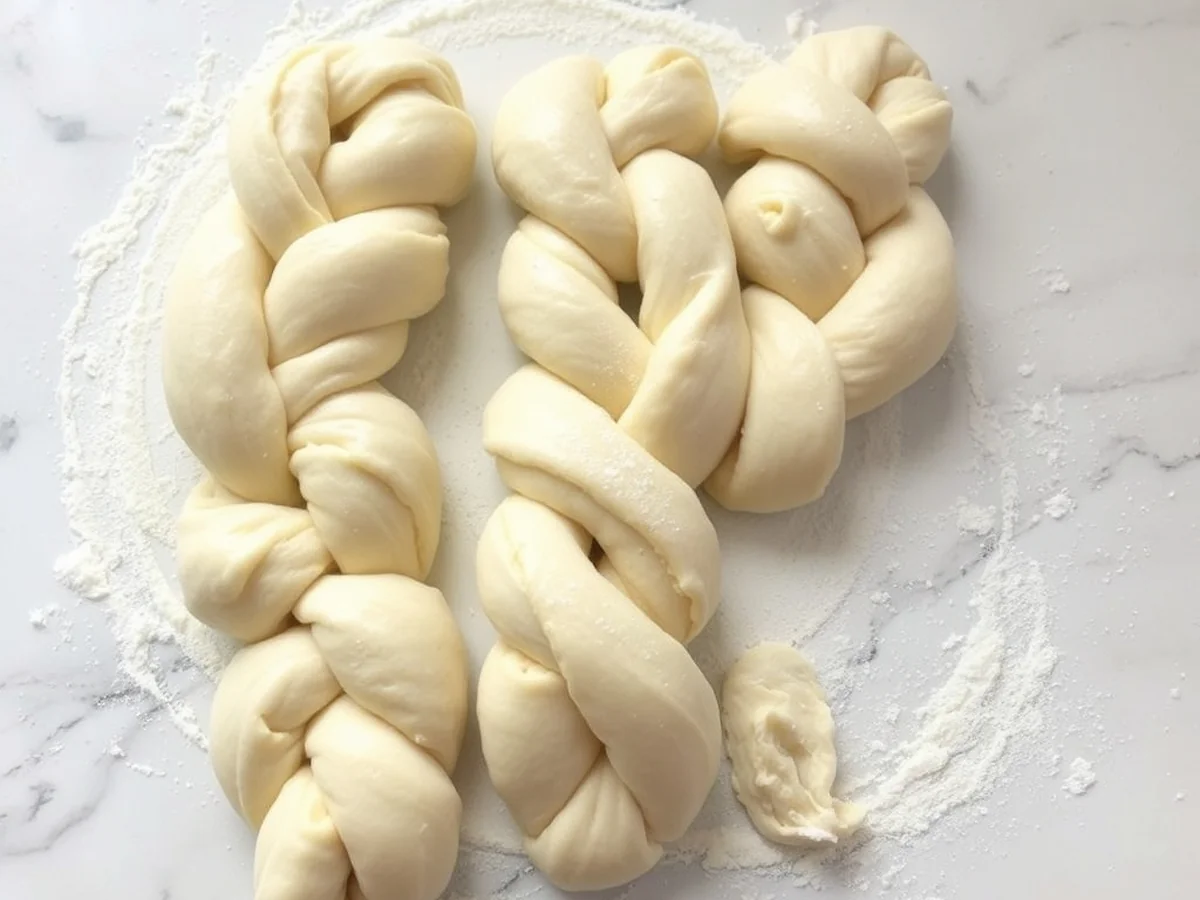
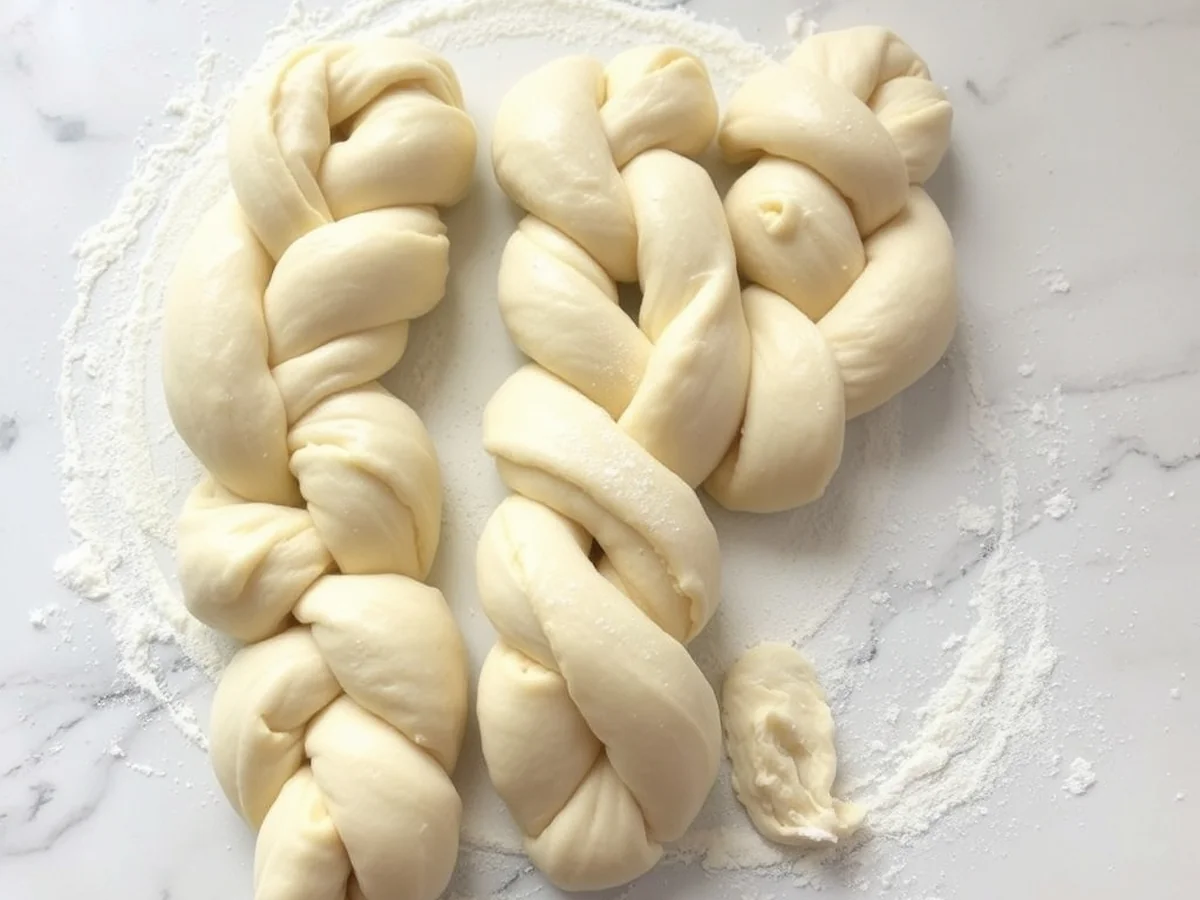
You can shape a professional looking loaf by rolling the rested dough into three equal ropes and crossing them over one another in a simple over and under pattern. Mastering how to braid challah bread requires patience rather than advanced culinary skills, making this an approachable step for any home cook. Since challah is traditionally an egg-enriched bread, the dough has a rich and pliable texture that responds very well to shaping.
Start by dividing your risen dough into three equal portions on a clean countertop. Roll each portion back and forth with your palms until you have three long, even ropes of equal length. Line the ropes up vertically side by side, leaving a small space between them.
Anchoring and Crossing the Ropes
Pinch the top ends of the three ropes firmly together to anchor them in place. This gives you a secure starting point so the structure stays intact while you work. Keep your movements gentle so you do not deflate the airy structure inside the dough.
Take the right rope and cross it over the middle rope. The right rope now occupies the center position. Next, take the left rope and cross it over the new center rope. Repeat this simple alternating sequence until you reach the bottom of the ropes. Cross the right rope over the middle, then cross the left rope over the middle. Continue this rhythm all the way down to the ends.
Finishing the Loaf Shape
Pinch the bottom ends together securely, just like you did at the top. Tuck both the top and bottom pinched ends slightly underneath the loaf to give your easy challah bread a clean and polished appearance on the baking sheet.
Apply these braiding techniques with confidence by focusing on even rope thickness rather than aiming for perfection. If a rope tears or shrinks back while you are rolling it, let it rest for a few minutes so the gluten relaxes before you try again. When you prepare for the final oven stage, keep in mind that common guidance suggests a typical baking temperature of 350 degrees F (175 degrees C), with a baking time that typically ranges from 30 to 35 minutes. You can check if the loaf is finished baking by tapping it gently, as a properly baked loaf sounds hollow upon being tapped.
Baking Temperatures and Crust Variations
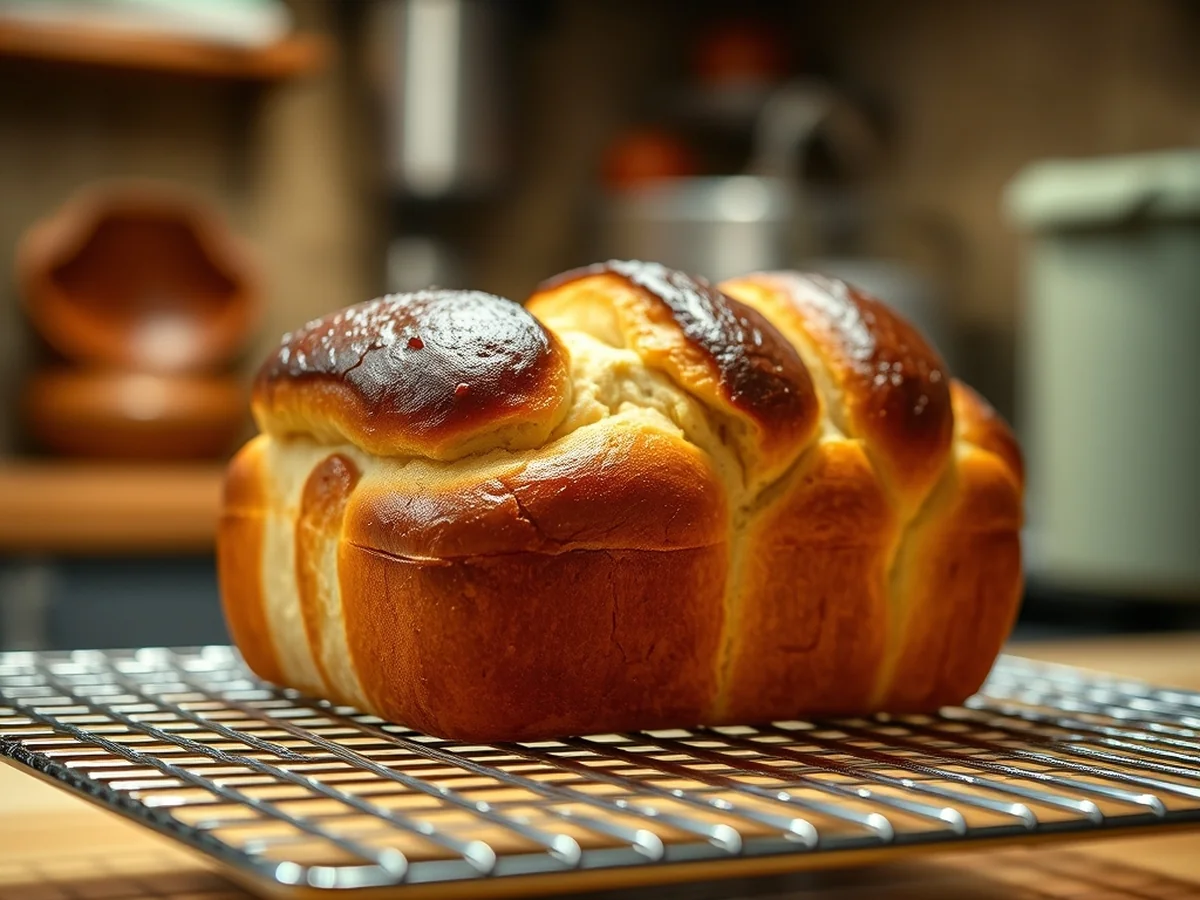
The standard baking temperature for an easy challah bread loaf is typically 350 degrees F (175 degrees C). This steady heat setting allows the enriched dough to brown evenly without burning the delicate woven exterior, ensuring the center cooks thoroughly while the surface develops a rich golden color.
Challah bread baking time typically ranges from 30 to 35 minutes, depending on the size of the loaf and the specific characteristics of your oven. To prevent undercooking or over-browning, monitor the loaf closely during the final ten minutes of baking.
Home bakers rely on specific physical cues to determine when the loaf is fully baked. A loaf is finished baking when it sounds hollow upon being tapped on the bottom. Alternatively, you can verify doneness by checking the internal temperature with a baking thermometer.
Achieving the right exterior finish involves choosing between different topping methods before the loaf goes into the oven. Challah is traditionally an egg-enriched bread that benefits from a classic egg wash for a deeply browned and shiny finish. Brushing the top with melted butter instead of beaten egg results in a softer crust that lacks the usual glossy shine. Butter yields a tender, matte exterior that works wonderfully if you plan to slice the finished loaf for morning toast or French toast.
A common mistake during the baking process is opening the oven door too early, which can cause the rising structure to deflate. Keep the oven door closed until the final minutes of baking. Another frequent error is applying too much egg wash, which can pool in the crevices of the braid and burn before the interior finishes cooking. Apply a thin, even coat with a pastry brush for the best visual results.
Checking for Doneness and Cooling
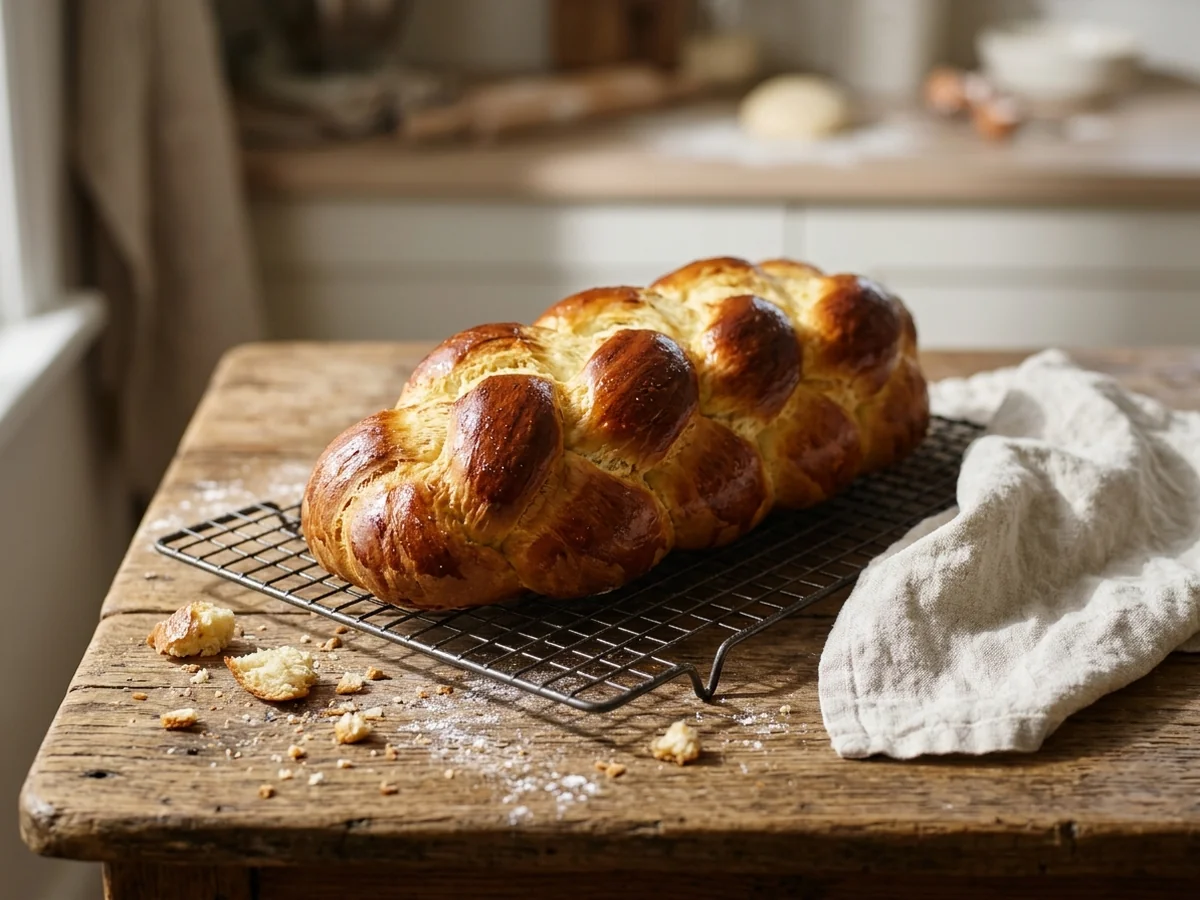
Knowing when your easy challah bread finishes baking prevents both a raw center and a dry loaf. Because challah is traditionally an egg-enriched bread, the interior structure needs enough heat to set properly without drying out. Typical baking guidance suggests a duration of 30 to 35 minutes at a standard temperature of 350 degrees F (175 degrees C), though verifying the internal progress ensures the best result for home bakers.
Testing for the Hollow Sound
A reliable method to check the status of your loaf is to test the sound of the crust. A loaf is finished baking when it sounds hollow upon being tapped on the bottom. This happens because interior moisture evaporates during the final stages of baking, creating a light crumb that resonates when struck.
Using a Baking Thermometer
Another practical way to confirm doneness is by inserting a baking thermometer into the center of the loaf. Checking the internal temperature gives you an exact reading, ensuring that the rich egg and flour mixture is fully cooked through without keeping the bread in the oven longer than necessary.
Proper Cooling Techniques
Common mistakes during this stage include leaving the hot bread inside the pan or placing it on a solid countertop to cool. Transfer the hot loaf to a wire rack immediately after removing it from the oven. Allowing air to circulate underneath the bread prevents the bottom crust from trapping steam and becoming soggy while it cools down completely.
Transforming Leftovers into Morning Favorites
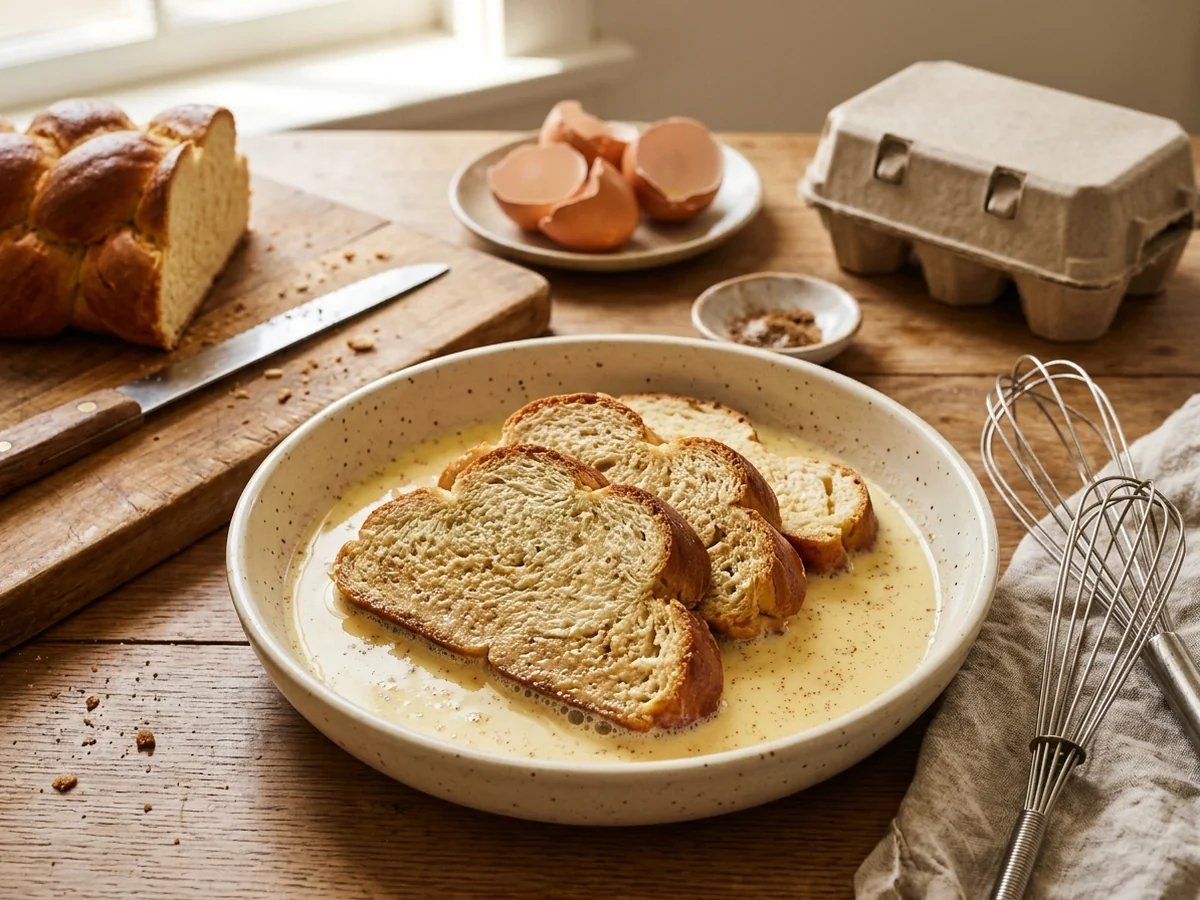
Leftover loaves make the best breakfast dishes because slightly stale slices absorb custard much better than fresh ones. Day-old bread loses its initial moisture, which allows it to soak up rich liquid without falling apart in the pan. Because challah is traditionally an egg-enriched bread, its rich crumb naturally complements sweet breakfast recipes and makes the ultimate foundation for homemade French toast. Home bakers can easily turn a weekend loaf into a comforting morning meal with minimal effort.
Selecting and Prepping Your Slices
You can maximize the flavor and texture of day-old slices with a few simple preparation steps before cooking. Stale bread creates a firm exterior and a tender center once it hits a hot skillet. Taking time to properly prep the loaf ensures that every slice cooks evenly and holds its shape instead of turning to mush.
- Slice the loaf into thick pieces so they hold their structure during soaking.
- Whisk eggs with a splash of milk and cinnamon for a classic custard.
- Cook the soaked slices over medium heat until golden brown on both sides.
Avoiding Common Cooking Mistakes
A common mistake when making morning breakfast dishes with leftover bread is using slices that are too thin, which leads to a soggy texture that easily breaks apart in the pan. Another frequent error is rushing the cooking process on high heat, which burns the outside before the custard in the center fully sets. Keeping the skillet at a moderate temperature prevents burning and creates that ideal golden crust. Using older homemade bread prevents food waste while turning simple ingredients into a comforting weekend meal. A warm skillet and a dusting of powdered sugar complete the process, giving you a delicious morning routine without extra fuss.
Customizing Crust Textures
When you are baking the original loaf before planning your breakfast meals, you can adjust the final texture depending on your preference. According to research from Oregon State University, brushing the top with melted butter instead of beaten egg results in a softer crust. If you prefer a sturdier exterior that stands up to heavy soaking, stick with a traditional egg wash before the loaf goes into the oven. Keeping track of how the bread handles moisture helps you tailor your morning routine for the best possible results.
Frequently Asked Questions
What is a quick way to make challah?
Baking an easy challah bread efficiently comes down to streamlining your rise times and using active dry yeast that requires warm water at approximately 100 degrees F to activate quickly. Preparing your ingredients ahead of time and working in a warm kitchen will also speed up the process.
Is it easy to make challah bread for beginners?
Beginners can easily master this recipe because challah relies on straightforward pantry staples like flour, eggs, and water. Challah is traditionally an egg-enriched bread, which makes the dough forgiving and simple to handle.
How long should you knead the dough for best results?
Kneading typically takes about 10 to 12 minutes by hand or slightly less if you are using a stand mixer with a dough hook. You will know the dough is ready when it becomes smooth, elastic, and springs back slightly when pressed.
How do you braid three ropes of dough smoothly?
Learning how to braid challah bread starts with rolling your rested dough into three equal-length ropes on a lightly floured surface. Pinch the top ends together, bring the right outer rope over the center, then bring the left outer rope over the new center, and repeat until you reach the bottom.
How do you know when the bread is finished baking?
A loaf is finished baking when it sounds hollow upon being tapped. Common guidance suggests a standard baking temperature of 350 degrees F with a baking time ranging from 30 to 35 minutes.
Conclusion
Baking this enriched loaf at home comes down to following a few straightforward steps, from mixing the dough to testing the bottom for a hollow sound. Anyone can master easy challah bread with a little patience and standard kitchen tools. Grab your apron to try out a comforting morning bake today, and slice the leftovers for a rich batch of homemade French toast.
Sources: extension.iastate.edu, ir.library.oregonstate.edu, extension.illinois.edu, scalar.usc.edu